
Putting together a portable basketball hoop can transform your driveway or backyard into a personal court, perfect for practice, family fun, or weekend games. But if you’ve just unboxed your new hoop and are staring at a pile of poles, brackets, and hardware, the task might seem overwhelming. The good news is that with the right approach, common tools, and a second pair of hands, you can assemble a portable basketball hoop in just a few hours. This guide walks you step by step through the entire process so you avoid common mistakes and ensure a safe, stable setup.
Gather Tools and Prepare Your Workspace
Before touching any parts, ensure you are set up for success. A clean, flat surface like a driveway or garage floor gives you room to lay out components without tripping hazards. Since portable hoops do not require concrete, they are ideal for temporary or movable installations, but proper preparation is still essential.
Essential Tools You Will Need
You will need only basic household tools to complete this assembly. An adjustable wrench or socket set handles most bolt connections. Screwdrivers in both Phillips and flathead varieties are necessary for various hardware points. A rubber mallet is recommended, or you can use a regular hammer with scrap wood placed over the parts to prevent damage. A measuring tape helps with alignment checks, and work gloves are recommended for grip and safety during the process.
The materials you must supply yourself include sand or water for filling the base. Sand provides more stability than water, especially in windy areas or for aggressive play. A helper is critical for lifting heavy components like the backboard and pole sections safely.
Pro Tip: Lay out all parts and compare them with the instruction manual. Check for missing hardware early. Most systems use size-specific plugs and holes to prevent incorrect assembly, so use this design to your advantage.
Connect and Seat the Pole Sections

The pole is the backbone of your portable basketball hoop. It must be assembled correctly and permanently seated to prevent collapse during use. This step is irreversible, so getting it right matters.
Join the Pole Sections Together
Start by sliding the top pole onto the middle pole. Align the bottom hole of the top pole directly over the top slot of the middle pole. Insert the provided bolt, but do not tighten it fully yet. It is normal for it to spin at this stage.
Next, slide the bottom pole into the lower end of the middle pole using the same alignment method. Again, insert the hardware loosely.
Match Plugs to Corresponding Holes
Insert the plugs into the middle pole. The larger plugs go into the large holes, and the smaller plugs go into the small holes. This size-matching design prevents assembly errors and ensures structural integrity. Take your time on this step, as forcing the wrong plug into a hole can damage the components.
Lock Poles with Firm Impact
This is the critical step that ensures your poles will not separate during play. To permanently seat the poles, strike each end firmly five to six times on a piece of scrap wood or cardboard. This forces the sections into a tight friction fit.
⚠️ Safety Warning: Never skip this step. Failure to seat the poles can cause separation during play, leading to serious injury or damage. Wear gloves and keep your feet clear while striking. Once seated, the poles should not come apart without cutting.
Attach Wheels and Secure the Base
The base provides stability, and the wheels allow easy movement. Installing them in the correct order is crucial for smooth operation and safety.
Install Axles and Wheels
With the pole horizontal and screw holes facing up, follow this sequence:
- Insert the large axle through the bottom hole
- Slide on the wheels
- Add the spacers
- Insert the small axle into the hole just above
Ensure wheels spin freely and spacers are snug against the components.
Lock the Base to the Axle
Place the base over the long axle, aligning it with the notches. Apply downward pressure by stepping on the base until you hear a distinct click. This confirms the axle is locked into place.
Then, lift the pole slightly so the small axle settles into its matching notches on the base.
✅ Visual Check: Both axles should be fully seated, and the base should not wobble when you test it.
Mount Pole Braces and Prepare for Upright Position
Pole braces add lateral support and prevent tipping. They must be attached before fully tightening to allow alignment adjustments.
Attach the Brace to the Base
Connect the flat end of the pole brace to the base. Make sure the angled end faces the correct direction per your model’s diagram. Tighten the hardware only to finger-tight. Do not fully secure it yet.
Lift the Pole with Your Assistant
With a helper holding the pole steady, begin lifting it to vertical position. Do not lift until the base is weighted.
Once upright, have your assistant support the pole while you begin filling the base with sand or water. Sand is heavier and provides more stability than water, making it ideal for windy areas or aggressive play.
💡 Time-Saving Tip: Use a funnel and a shop vac in reverse mode to speed up sand filling.
After the base is full, return to the pole braces and fully tighten the hardware on both ends.
Assemble the Backboard and Rim
The backboard and rim are the heart of your system. Proper assembly ensures a true rebound and long-term durability.
Install U-Bolts and Brackets
Insert the U-bolt through the holes in the backboard brackets. Fold the inner guard as shown in diagrams and place it between the brackets. Align the oblong hole on the guard with hole number one on the bracket. Insert hardware into hole number one and tighten just enough to hold. Finger-tighten only for now.
Add hardware to the smaller hole below the larger hole.
Mount the Rim Support and Backboard
Place the rim support channel on the back of the backboard. Position the brackets over it, ensuring the U-bolt passes through the correct holes. Flip the assembly over so the front faces up.
Attach the Rim and Finalize Hardware
Slide the rim over the U-bolt. Add washers and nuts, then tighten securely.
Flip the backboard back to its original position. Slightly bend the brackets so the top holes align. Insert the final hardware.
Now go back and fully tighten all previously loosened bolts, especially those around the rim and brackets.
Install Extension Arms and Adjustment Mechanism
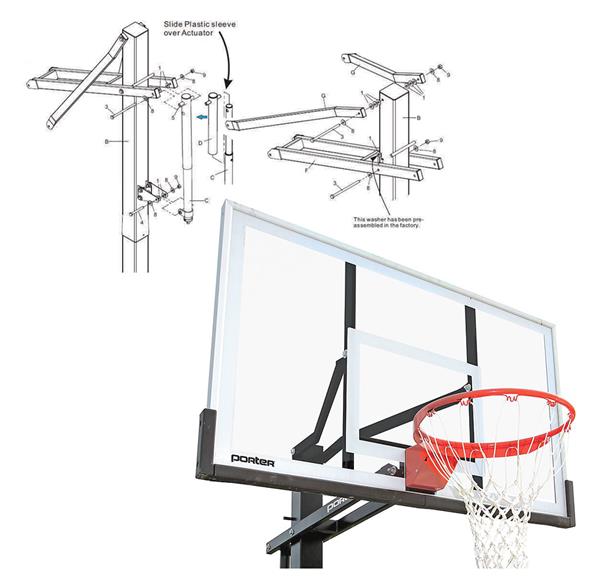
Extension arms connect the backboard to the pole and allow height adjustment. The stacking sequence is precise. Get it wrong, and the latch will not function.
Attach Extension Arms to Brackets
Use the hole furthest from the others on the backboard bracket to attach the extension arms. Tighten hardware just enough to make the bolt flush with the nut. Do not over-tighten.
Stack Guards and Latch in Correct Order
This twelve-step sequence is critical. Follow it exactly in this order:
- Extension arm
- Bushing
- Backboard bracket
- Outer guard
- Inner guard
- Adjustment latch
- Other side of adjustment latch
- Inner guard
- Outer guard
- Backboard bracket
- Spacer
- Other extension arm
❗ Common Mistake: Misplacing the adjustment latch or skipping spacers causes the height mechanism to jam. Double-check each layer before proceeding.
Once stacked, lift the outer guard and latch to align with the closest hole to the backboard on the upper extension arms. Insert hardware through the arm, guard, and latch.
Connect the Backboard to the Pole
Now it is time to join the two main assemblies. You will need your helper for this step.
Lift and Align with Your Helper
With a second person, lift the backboard assembly and align the extension arms with the pole. Slide the hardware through the holes at the end of each arm. Ensure both arms are level and the backboard is centered.
✅ Visual Cue: The backboard should sit straight, not tilted forward or to one side.
Tighten all connection points securely.
Final Steps: Net, Film, and Height Adjustment

The last few steps make your hoop game-ready.
Hang the Basketball Net
Attach the net to the rim using the loops or clips provided. Most nets slide on easily, and no tools are needed for this step.
Remove the Protective Film
Do not forget this step. The backboard comes with a clear plastic film to prevent scratches during shipping. Peel it off completely to reveal the true playing surface.
🎯 Pro Tip: Use a razor blade edge to start the peel. Work slowly to avoid gouging the backboard.
Test the Quick Adjust Mechanism
Your hoop likely features a quick adjust latch for changing height. Pull the latch to release the pole, slide to desired height between seven and a half and ten feet, then release the latch to lock in place. Test the mechanism several times to ensure smooth operation.
Verify Stability and Safety
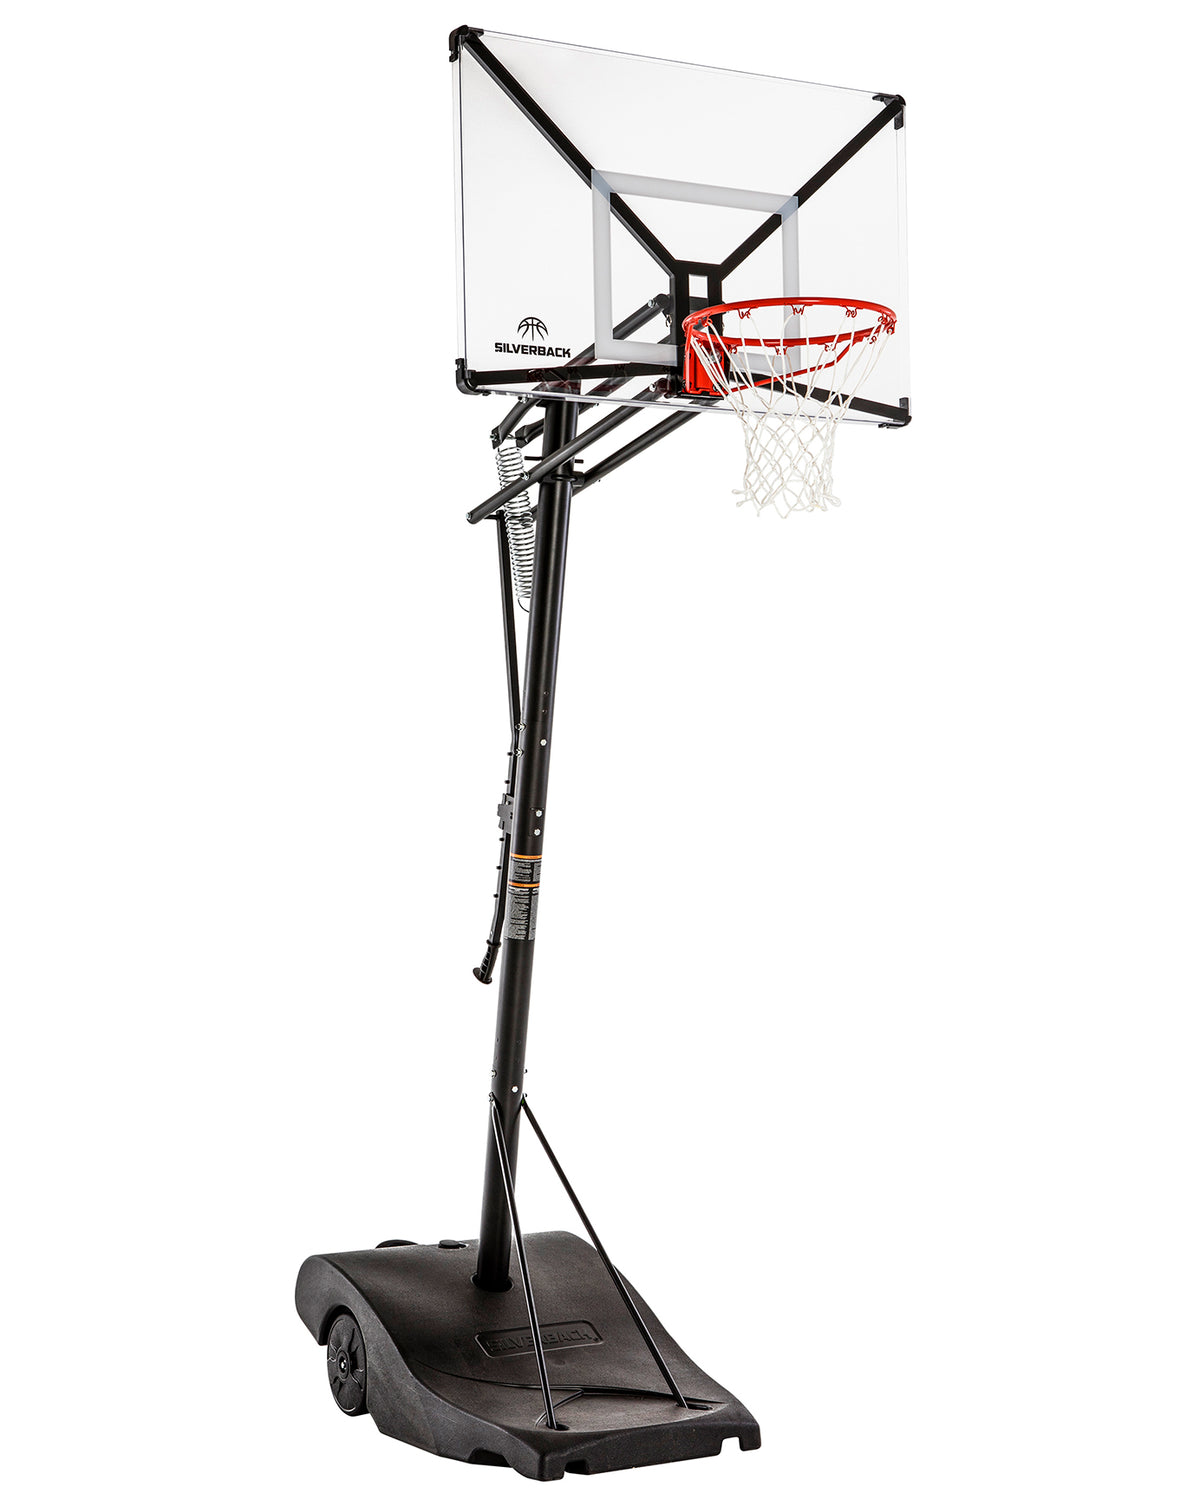
Before the first dunk or even a layup, do a final safety check.
Full System Inspection
Walk around the hoop and confirm that all bolts are tight, wheels are locked if equipped, the base is fully filled and level, the backboard is secure and aligned, and the adjustment latch engages firmly at all heights.
Perform a Load Test
Gently push on the rim from multiple angles. There should be no wobbling or shifting. If the system moves, recheck brace tightness and base weight.
Troubleshooting Common Issues
Even with careful assembly, problems can arise.
Rim Wobbles During Play
This is usually caused by loose hardware on brackets or rim supports. Retighten all bolts, especially those on the U-bolt and extension arms.
Height Adjuster Will Not Lock
This is typically caused by a misaligned latch or debris in the track. Clean the pole track, realign the latch, and ensure the correct stacking order was followed during assembly.
Base Leaks or Will Not Hold Weight
This is usually caused by a cracked base or improper filling. Fill slowly to avoid pressure cracks, and use sand if water leakage persists.
Frequently Asked Questions About Putting Together a Portable Basketball Hoop
How long does it take to assemble a portable basketball hoop?
Assembly time typically ranges from one to four hours depending on the model and your experience with similar projects. Having a second person significantly speeds up the process, especially during lifting and alignment steps.
Do I need special tools to put together a portable basketball hoop?
No special tools are required. Common household tools like an adjustable wrench, socket set, screwdrivers, and a rubber mallet are sufficient. Most systems include all necessary hardware in the box.
Can I fill the base with water instead of sand?
Yes, you can fill the base with either sand or water. However, sand provides more stability than water, especially in windy conditions or for aggressive play. Sand is heavier and less likely to leak.
What happens if I skip the pole seating step?
Skipping the pole seating step is dangerous. The poles may separate during use, causing serious injury or property damage. This step involves striking each pole end firmly five to six times to create a permanent friction fit.
Can I assemble a portable basketball hoop alone?
While it is possible to assemble most portable hoops alone, having a helper is strongly recommended for safety. The backboard and pole sections are heavy and awkward to handle alone, particularly during the lifting and alignment phases.
Key Takeaways for Putting Together Your Portable Basketball Hoop
Assembling a portable basketball hoop does not require professional skills, but it does demand attention to detail and proper technique. The most critical steps are seating the pole sections by striking them firmly five to six times, ensuring the base is weighted before lifting the pole to vertical, and following the precise twelve-step stacking order for the adjustment mechanism. Using sand instead of water in the base provides better stability, and always perform a load test before allowing play. With your hoop now assembled, the net hanging, and the protective film removed, your system is ready for action. Whether you are shooting hoops at dawn or hosting weekend games, your portable basketball hoop offers flexibility, stability, and hours of fun.