You’re ready to play, but your basketball feels flat and won’t bounce right. Before you rush to buy a new ball or a special pump, here’s the good news: you can inflate a basketball with a bike pump no problem. In fact, it’s a fast, affordable, and reliable method if you know how to do it correctly.
The key? Most basketballs use Schrader valves, the same type found on car tires and many bicycles. That means your standard bike pump likely already has the right fit. But even if it doesn’t, a small adapter and a few simple steps are all you need to get your ball game-ready in minutes.
Check Valve Compatibility First
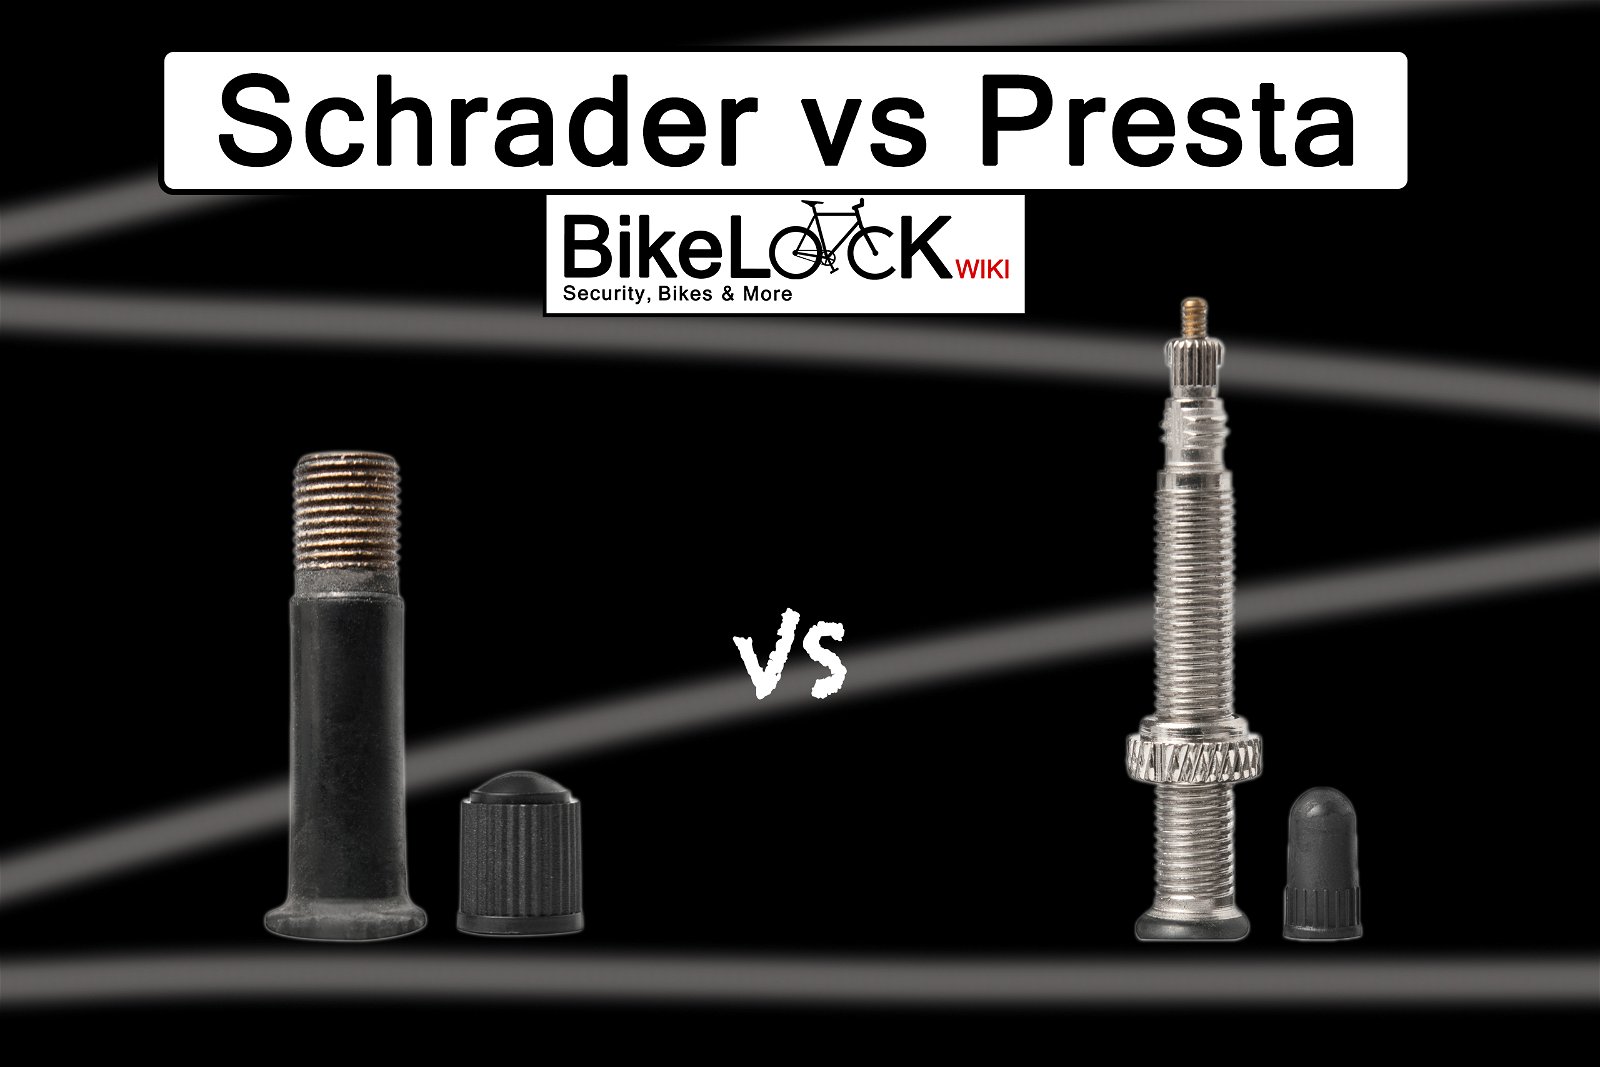
Before pumping, confirm your equipment matches. Most basketballs use Schrader valves, which are wide rubber stems with a metal pin in the center. These are identical to the valves on car tires and many bike tires.
Identify Your Valve Type
Look at the valve on your basketball. The two main types work differently.
Schrader valves feature a wider stem with a spring-loaded pin in the middle. This is the standard for basketballs. Presta valves are narrower, longer, and less common on basketballs, typically found on road bikes instead.
If your pump fits car tires or mountain bike tires, it likely supports Schrader valves natively. Dual-head pumps often switch between Presta and Schrader with a simple flip or screw mechanism.
Test Pump Head Fit
Try pressing the pump nozzle onto the basketball’s valve. If it seals tightly and clicks into place, you’re good to go. If it wobbles or won’t attach, you need a basketball inflation needle adapter.
These small rubber or metal tips screw or snap onto your pump and convert it for ball inflation. They’re inexpensive and sold at sporting goods stores or online.
Pro tip: Always carry a spare adapter. They’re tiny, easy to lose, and critical when you need them.
Gather and Prepare Your Tools
Having the right tools ready prevents damage and ensures a smooth process.
Required Equipment
You will need several items to get this done properly. Gather your basketball, a bike pump with Schrader compatibility or dual-head, an inflation needle or ball adapter if needed, water for lubrication, and long-nose pliers for safe removal.
Lubricate the Needle Tip
Dip the very tip of the adapter into a few drops of water. Do not use excessive oil or thick grease unless specified.
Water works well because it reduces friction during insertion, prevents tearing of the rubber valve seal, creates a temporary airtight seal, and is safer than petroleum-based lubes that can degrade rubber over time.
Avoid forcing a dry needle. It’s the number one cause of valve damage.
Insert the Adapter Correctly

Now it’s time to connect the pump to the ball. This step is where most mistakes happen.
Locate the Valve
Find the small rubber stem on the side of the basketball, usually near the panel seams or logo. It may be covered by a plastic cap, so remove it first.
Align and Insert Gently
Hold the lubricated adapter and align it straight with the valve hole. Push in with steady, gentle pressure.
If resistance occurs, try a slight twisting motion, like screwing in a lightbulb. Do not force it. Forcing can bend the internal pin or rip the rubber seal.
Once fully seated, the adapter should feel snug and stable.
Warning: If it feels stuck or misaligned, stop. Remove and re-lubricate. Damaged valves lead to slow leaks and unplayable balls.
Pump to the Right Pressure
With the adapter secured, start inflating.
Know the Target PSI
Most basketballs perform best between 7.5 and 8.5 PSI. Indoor play on wood courts calls for 7.5 to 8.5 PSI. Outdoor play on asphalt or concrete works better at 8.0 to 10.0 PSI, slightly higher for durability.
Check the ball’s label. Many manufacturers print the recommended PSI on the surface.
Use a Gauge for Accuracy
If your pump has a built-in pressure gauge, pump steadily and watch the reading. Stop when you reach the target range.
No gauge? Use the squeeze test instead. The ball should feel firm but give slightly when pressed with your palm. Too soft means underinflated, too rigid means overinflated.
Never exceed 10 PSI unless the manufacturer specifies otherwise. Overinflation risks bursting the bladder or making the ball uncontrollable.
Remove the Adapter Safely
After inflation, removal matters just as much as insertion.
Pull Quickly and Straight
Yank the adapter out in one swift motion, straight out, not at an angle.
The valve closes quickly after the pin is released. Slow removal lets air escape, undoing your work.
Use Pliers if Stuck
If the adapter won’t budge, grip the base with long-nose pliers, not the tip. Pull straight out with firm, steady pressure. Avoid twisting because this can shear the valve pin.
Pro tip: After removal, press the valve pin lightly with a key or pen tip to release any trapped air and equalize pressure.
Test and Maintain the Ball
Now that it’s inflated, verify performance and protect your work.
Perform the Bounce Test
Drop the ball from waist height, about 4 to 5 feet. A properly inflated ball should rebound to hip or chest level.
If it barely bounces, add 0.5 to 1 PSI more. If it’s too bouncy or feels rock-hard, release a little air.
Replace the Valve Cap
Screw or snap the cap back on to keep dirt and moisture out, prevent accidental air loss, and extend valve life.
Troubleshoot Common Issues
Even with care, problems can occur. Here’s how to fix them.
Air Leaks During Pumping
Poor seal between adapter and valve causes this problem. Re-lubricate the adapter tip, reinsert with a twisting motion, and ensure the adapter is fully seated.
Still leaking? The adapter may be worn and needs replacing.
Adapter Won’t Come Out
Friction or swelling from lack of lubrication causes this. Use pliers to grip the base, pull straight out with no twisting, and in the future always lubricate before inserting.
Ball Loses Air Quickly
Possible causes include a damaged valve with bent pin or torn rubber, a dirty valve stem, or a worn bladder.
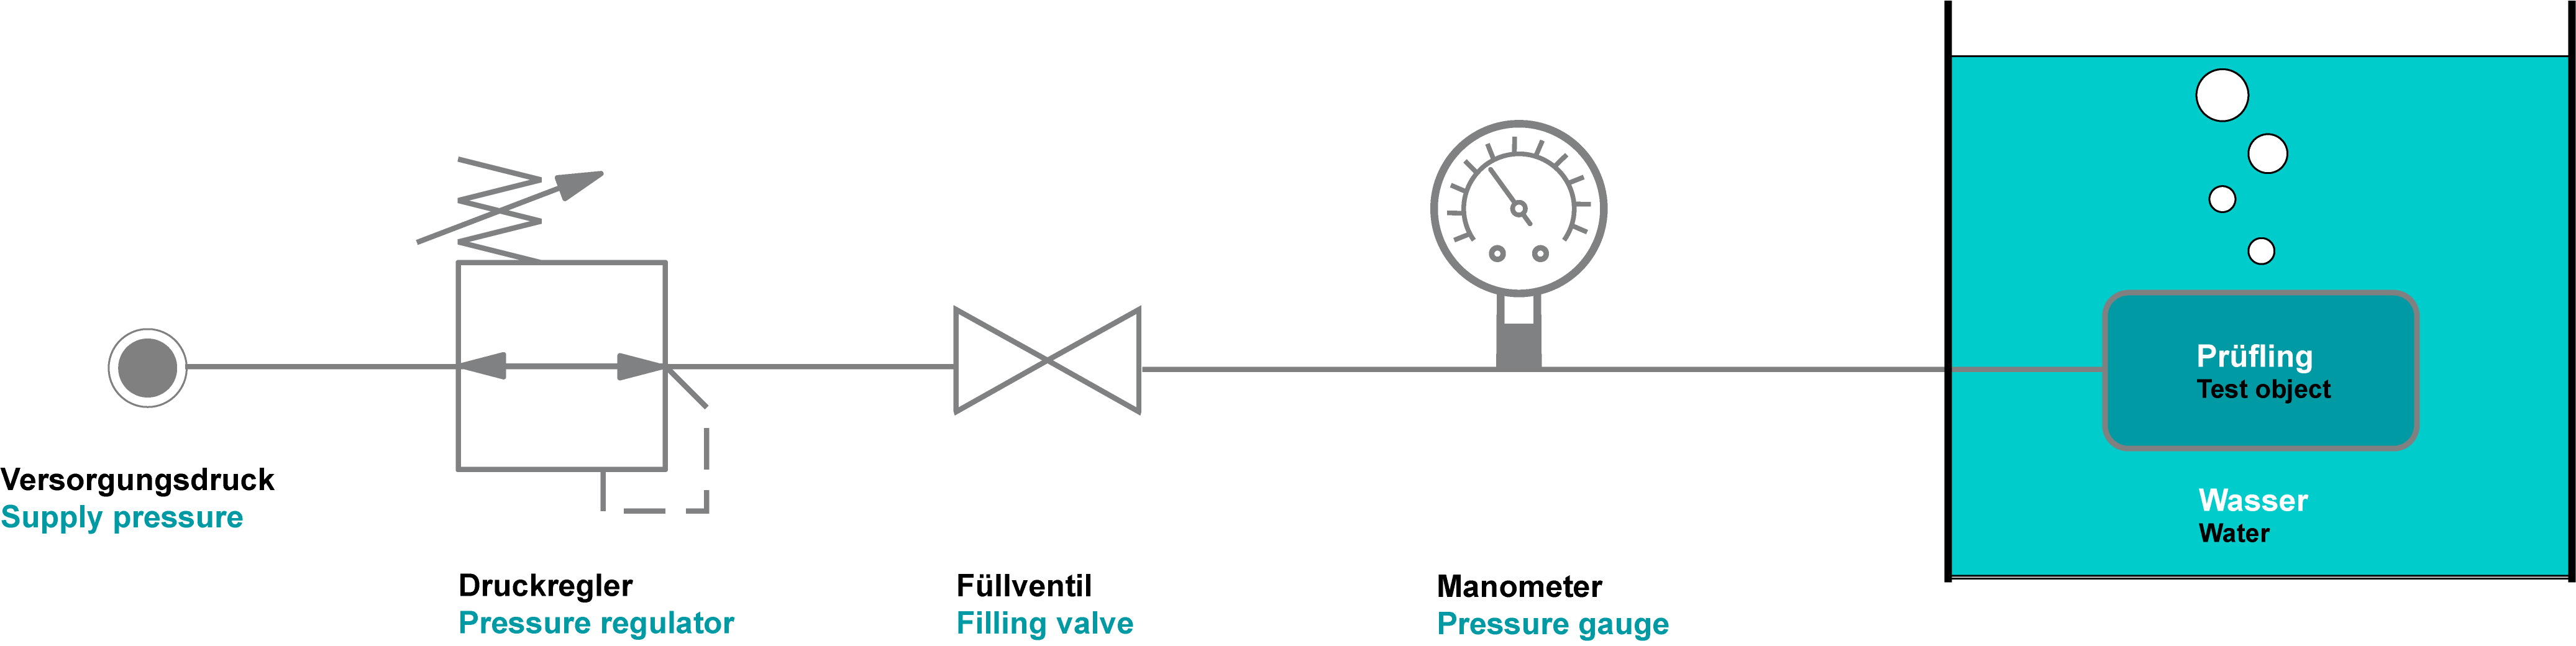
Check the valve for cracks or leaks, clean the valve with a damp cloth, and submerge the ball in water and look for bubbles.
If the valve is damaged, a valve repair kit may help, but often replacement is necessary.
Store and Maintain Properly
Long-term performance depends on care.
Ideal Storage Conditions
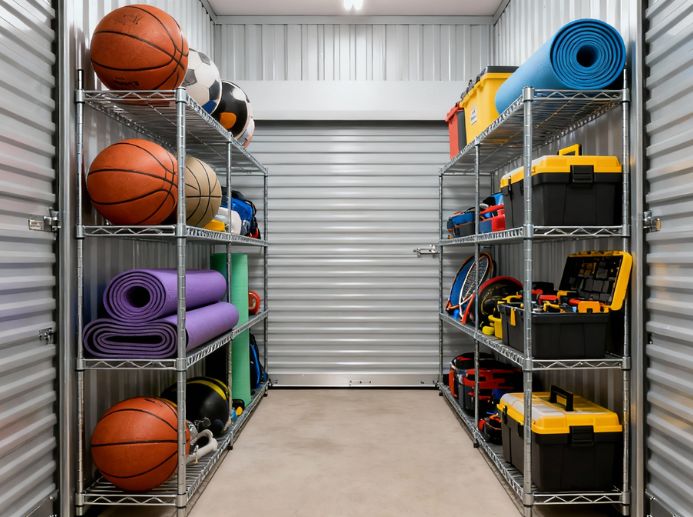
Store at room temperature, avoiding garages, cars, or attics. Keep away from sunlight because UV rays degrade rubber. Never store completely flat; keep it slightly inflated.
Heat expands air inside the ball, cold contracts it. Storing in extreme temperatures leads to over or under-inflation.
Best Practices for Longevity
Follow these expert tips to keep your basketball in top shape.
Check Pressure Before Every Use
Even a well-sealed ball loses small amounts of air over time. A quick pressure check ensures consistent performance.
Clean the Adapter Regularly
Wipe the needle with a damp cloth after each use. Dirt inside the valve causes slow leaks.
Stick to Water-Based Lubrication
While some use petroleum jelly, water is safer and just as effective. Oil-based lubes can deteriorate rubber seals over time.
Invest in a Quality Pump
A floor pump with a gauge and Schrader-compatible head saves time and prevents guesswork. It’s a one-time purchase that works for bikes, basketballs, and more.
Bonus: Some pumps come with a built-in ball needle, so check your model.
Final Thoughts on Inflating Your Basketball
Inflating a basketball with a bike pump isn’t just possible. It’s smart. With the right adapter, a little water, and careful technique, you can achieve professional-level inflation at home. The process takes less than 5 minutes and costs nothing extra if you already own a standard pump.
Remember the essentials. Confirm Schrader valve compatibility before starting. Always lubricate the needle tip with water before insertion. Insert gently but remove quickly to prevent air loss. Inflate to 7.5 to 8.5 PSI and check the label for specific recommendations. Test the bounce and store properly away from heat and sunlight.
By following these steps, you’ll extend your ball’s life, improve your game, and avoid unnecessary replacements. Now grab your pump, hit the court, and play with confidence.
Frequently Asked Questions About Inflating a Basketball with a Bike Pump
Can I use any bike pump to inflate a basketball?
Most standard bike pumps work fine if they have Schrader valve compatibility. Check the pump head to confirm it fits the wider Schrader valves found on basketballs. If your pump is designed for Presta valves only, you’ll need an adapter.
Why does the adapter get stuck in the valve?
This happens when the needle isn’t lubricated before insertion. Friction causes the rubber to swell and grip the adapter tightly. Always use water on the tip, and if stuck, use long-nose pliers to pull straight out.
How do I know if my basketball has the right pressure?
Use a pump with a built-in gauge and aim for 7.5 to 8.5 PSI for indoor play. Without a gauge, perform the squeeze test. The ball should feel firm with slight give. You can also drop from waist height and check that it rebounds to hip or chest level.
What happens if I overinflate the basketball?
Overinflating risks bursting the bladder and makes the ball feel rock-hard, which reduces grip and control. Never exceed 10 PSI unless the manufacturer specifies otherwise. If overinflated, press the valve pin briefly to release air.
Why does my basketball keep losing air?
Common causes include a damaged valve with a bent pin or torn rubber, dirt in the valve stem, or a worn bladder. Inspect the valve for visible damage, clean it regularly, and replace the ball if the bladder is compromised.