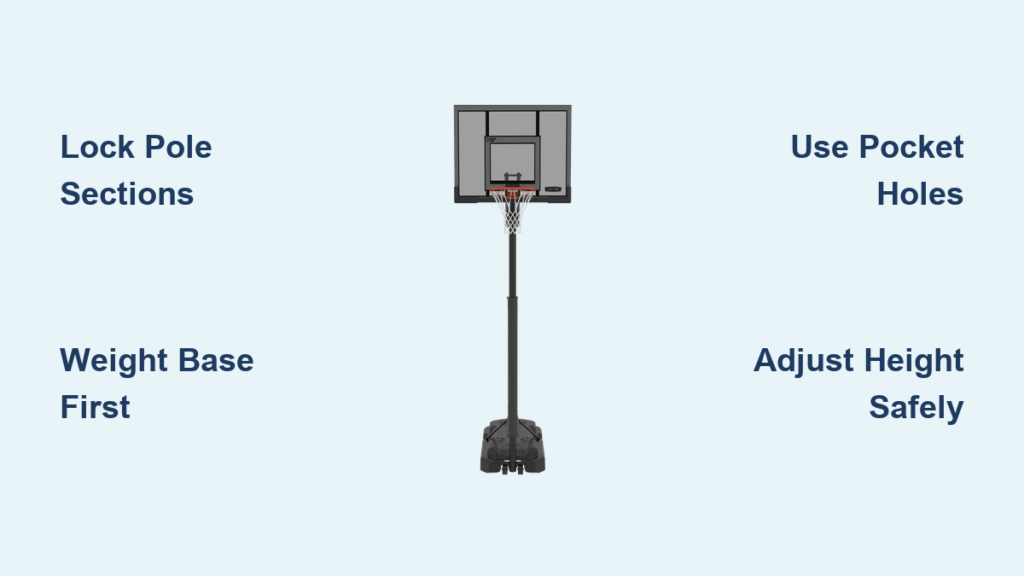
Nothing beats the convenience of a portable basketball hoop. You can set it up in your driveway, move it for games, or take it with you when you relocate. This guide covers every method, from assembling a commercial kit to building a budget-friendly DIY version, creating a concrete base, and making a mini version for kids. You’ll learn precise steps, avoid common mistakes, and get pro tips for durability.
Assemble a Commercial Portable Hoop (Lifetime-Style)

Most portable hoops come as kits requiring careful assembly. Following the correct sequence prevents structural failure and ensures smooth height adjustment.
Lock Pole Sections Securely
The vertical pole typically has three sections: top, middle, and bottom. Slide each section together until they fit snugly.
• Insert plugs into the middle pole’s holes: larger plugs in larger holes, smaller in smaller
• Strike each joint 5 to 6 times on scrap wood to permanently lock the sections
Critical Warning: Skipping this step risks the pole separating during play, which can cause serious injury.
Attach Wheels and Secure the Base
The base provides mobility and stability when filled with sand or water.
- Position the pole upright and insert the large axle into the bottom hole
- Slide on wheels, then spacers, followed by the small axle just above
- Lower the base over the long axle until it clicks into the notches
- With help, lift the pole so the small axle rests in its notches
- Attach pole braces to the base (finger-tight for now)
Safety Constraint: Never lift the pole until the base is weighted with sand or water.
Mount Backboard and Rim
The backboard assembly connects to the pole via extension arms and an adjustment latch.
• Place the rim support channel on the back of the backboard
• Position backboard brackets over it and insert the U-bolt through the holes
• Flip the backboard and install the rim, adding washers and nuts to secure it
• Tighten all hardware after final alignment
Connect Extension Arms and Latch
These components allow height adjustment.
- Attach extension arms to the backboard brackets using the outermost hole
- Stack components in this exact order: extension arm, bushing, bracket, outer guard, inner guard, latch, mirror side, spacer, other arm
- Insert hardware through the upper arm, outer guard, and latch
- With assistance, lift and attach arms to the pole
Finalize Setup
• Add sand or water to the base before tightening pole brace hardware
• Attach the net and peel off protective film from the backboard
Build a $20 DIY Wooden Portable Hoop

For a regulation 10-foot hoop on a tight budget, this 2×4 design uses geometry and smart bracing for strength.
Cut Lumber to Exact Dimensions
Use a miter saw for precision.
• Base back edge: 43.5 inches
• Side supports: 20.5 inches (2 pieces)
• Back brace: 56 9/16 inches with 45-degree miters on both ends
• Pole: Double 2x4s stacked and staggered to prevent weak joints
Pro Tip: Misreading miter angles (e.g., 30° vs. 60°) ruins alignment. Double-check your saw scale.
Assemble the Base with Pocket Holes
• Build the base frame on its side
• Use pocket holes for strong, hidden joints
• Prop the frame with fire extinguishers or clamps during assembly for stability
Install Sliding Box Clasp for Height Adjustment
• Build a 2×4 box clasp and mount it at the top of the pole
• The hoop slides into this box and locks at the desired height
• Add two lateral screws to prevent wobbling
Attach Backboard and Brace
• Slide the pole into the box clasp
• Secure the 45-degree back brace with pre-drilled screws
• Fasten side supports to both sides of the base
• Align the backboard using center marks and drive 3-inch deck screws through pilot holes
Lock at 10 Feet and Weatherproof
• Use a clamp to guide the hoop into place
• Mark 120 inches (10 feet) from the ground
• Drive a screw through the box clasp into the pole to lock height
• Paint all surfaces with exterior paint to protect from rain and UV
Add Weight for Stability
• The frame is stable for light play but needs added weight for dunking or strong shooting
• Place sandbags or cinder blocks on the base
• Avoid using on windy days without reinforcement
Create a DIY Portable Base (Concrete or Recycled)

A sturdy base keeps your hoop upright. You can build one instead of buying a commercial version.
Pour a Concrete-Filled Base
This method creates a heavy, durable anchor.
• Use a 5-gallon bucket, steel drum, or large plastic container
• Insert rebar or metal rods for reinforcement
• Mix two 60-lb bags of concrete and pour into the container
• Level the surface and cure for 24 to 48 hours under a tarp
Attach to Pole
• Drill holes in the base or embed a metal flange during pouring
• Bolt the pole to the base using outdoor-rated hardware
• Fill any remaining space with sand or water for extra weight
Freeze Warning: In cold climates, drain water after use to prevent cracking.
Try Alternative Base Designs
• Pallet Base: Build a frame from wooden pallets, fill with sand or gravel, and secure with metal brackets
• Concrete Block Base: Stack blocks into a rectangle, fill core with concrete or sand
• Recycled Base: Use old tires, drums, or plastic bins filled with water, sand, or gravel
Prevent Sliding and Tipping
• On grass, use ground stakes through the base
• On pavement, add rubber feet or non-slip pads
• Keep the base wide and low for improved stability
Construct a Permanent Wooden Hoop with Adjustable Height

For a backyard feature that looks great and lasts, build a custom cedar hoop with concrete foundation.
Set the Post in Concrete
- Dig a 12-inch wide, 2-foot deep hole
- Insert a 6x6x14 pressure-treated post
- Brace it with 2x4s and check for level
- Pour two 60-lb bags of concrete around the post
- Let cure 24 hours, then remove braces
Build the Cedar Backboard
• Cut six 4-foot lengths from 1×6 cedar boards
• Cut four 32-inch braces from 1×4 cedar
• Clamp boards together and screw braces to the back using 1¼-inch deck screws
Frame the Support Structure
Use pressure-treated 2x4s.
• Four 6-inch pieces: front and back cross braces
• Four 12-inch pieces: side braces (attach to backboard)
• Two 30-inch pieces: side connectors
• One 23-inch back support (prevents forward lean)
Assemble with 3½-inch deck screws and reinforce joints with metal mending plates.
Mount and Adjust Height
• For fixed height, screw the rim assembly directly to the post
• For adjustable height, drill multiple holes in the post at 2 to 3 inch intervals
• Use 8-inch lag bolts with washers to lock the support frame at different levels
Finish with Paint and Tape
• Mask off areas with Frog Tape for clean lines
• Paint the backboard and frame
• To paint the 24-inch by 18-inch target box: tape horizontal lines above and below, remove center strip, paint the rectangle, wait for paint to dry before removing tape
Make a Mini Indoor Hoop (Kids’ Craft)
Perfect for ages 8 and up, this mini-hoop teaches design and physics using household items.
Bend a Wire Hanger into a Rim
• Shape the hanger into a circle without cutting it
• Bend the hook to a 90-degree angle for attachment to the backboard
Build a Cardboard Backboard
• Cut cardboard to 6:1 proportion (e.g., 12 inches wide for a 2-inch rim)
• Decorate with paint or foil to mimic glass
• Tape the hanger rim to the front, with the hook secured to the back
Educational Benefit: This project develops problem-solving, measurement skills, and creativity.
Compare Methods: Which Is Best for You?
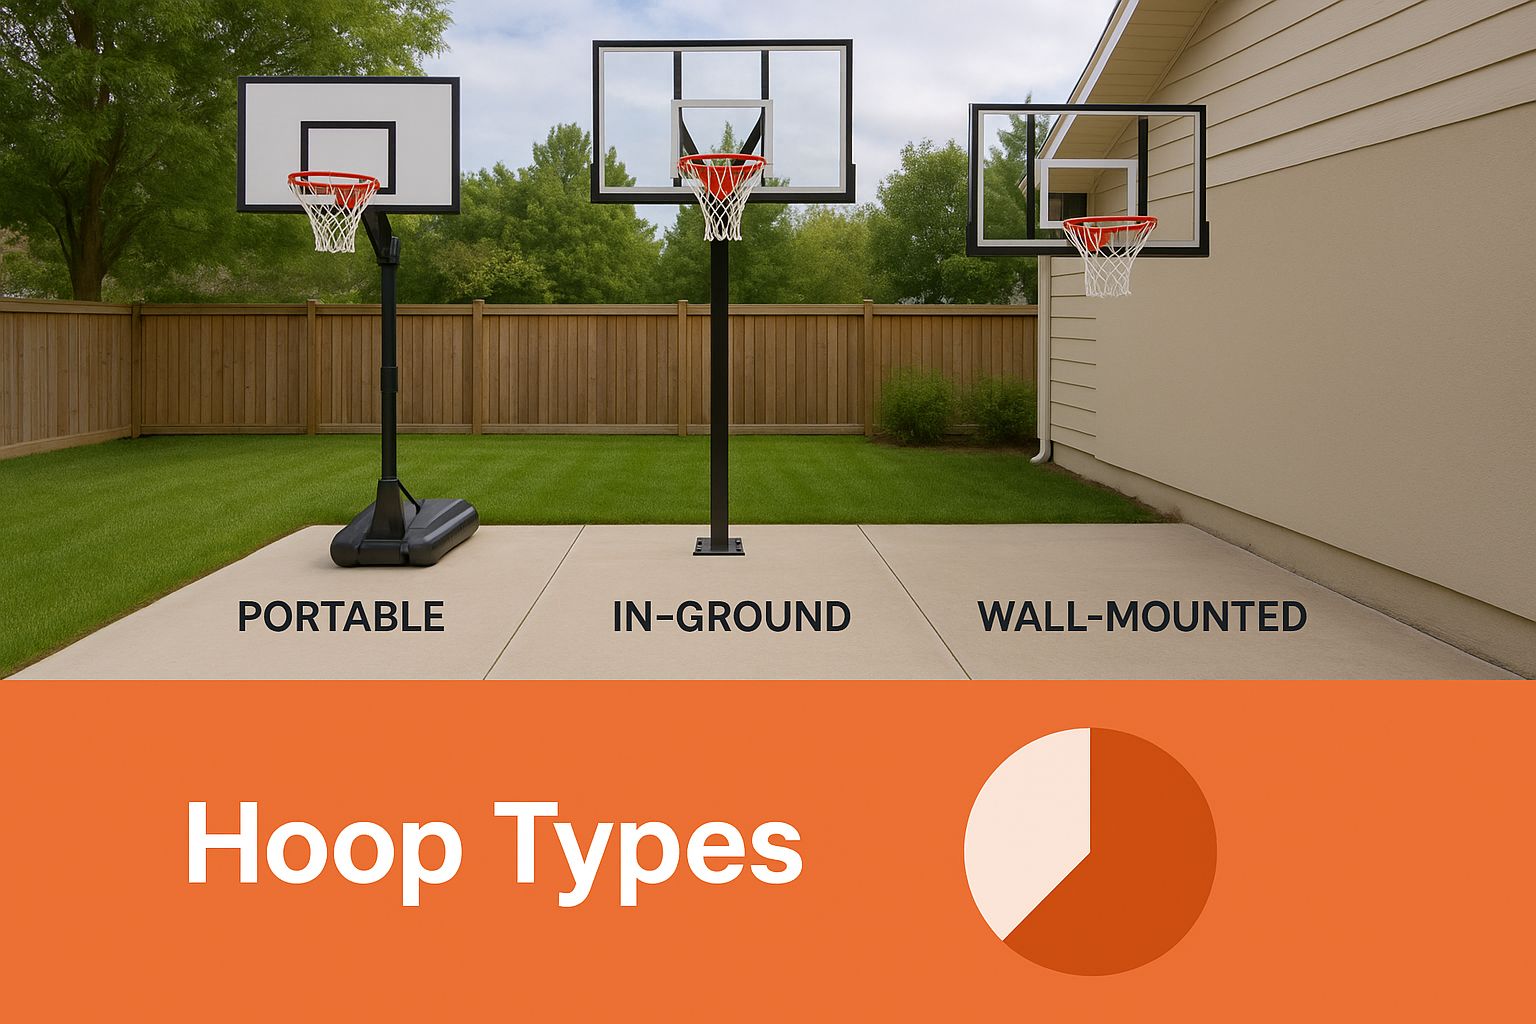
| Feature | Commercial Kit | $20 DIY Wood | Concrete Base | Custom Cedar | Mini Craft |
|---|---|---|---|---|---|
| Cost | $$$ | $ (~$20) | $$ | $$$$ | Free |
| Time | 1–4 hrs | 3–5 hrs | 24–48 hrs (curing) | 1–2 days | 30 mins |
| Portability | High | Medium | Low | None | High |
| Durability | High | Medium | High | Very High | Low |
| Skill Level | Moderate | Moderate | Low | High | Low |
| Best For | Families, casual play | Budget DIYers | Stability seekers | Permanent installs | Kids, learning |
Safety and Maintenance Tips
• Always weight the base before raising the pole
• Inspect hardware monthly for looseness or rust
• Drain water in winter to prevent freeze damage
• Paint or seal wood annually to prevent rot
• Avoid lifting hoops on windy days
• Never stand under the rim during assembly
Frequently Asked Questions About Building a Portable Basketball Hoop
How long does it take to assemble a commercial portable hoop?
Most commercial portable hoops take 1 to 4 hours to assemble. The process involves connecting pole sections, installing wheels, mounting the backboard and rim, and attaching the height adjustment mechanism.
Can I build a regulation-height hoop for under $20?
Yes. A budget DIY wooden hoop using 2x4s can reach the regulation 10-foot height. The design uses a sliding box clasp for height adjustment and requires approximately $20 worth of lumber plus some screws and paint.
Do I need to add weight to my portable hoop?
Yes. Portable hoops require sand or water in the base for stability. For DIY wooden versions, adding sandbags or cinder blocks is recommended, especially if players will dunk or shoot forcefully.
How do I prevent my portable hoop from tipping over?
Keep the base wide and low for a low center of gravity. On grass, use ground stakes. On pavement, add rubber feet or non-slip pads. Never attempt to raise the pole until the base is properly weighted.
Can I make a portable base using recycled materials?
Yes. Old tires, metal drums, or plastic containers can be filled with water, sand, or gravel to create an eco-friendly and cost-effective base. Ensure the container is durable and weather-resistant.
Key Takeaways for Building Your Portable Basketball Hoop
You now know how to build a portable basketball hoop using any method. Each approach has trade-offs in cost, time, and durability. Commercial kits offer convenience and adjustable height mechanisms. Budget DIY builds using 2x4s can achieve regulation height for around $20. Concrete bases provide maximum stability for permanent installations. Mini hoops offer educational fun for children.
The key to success lies in precision during assembly. Lock pole sections with firm strikes, use pocket holes for strong joints, and always weight the base before raising the pole. For wood builds, apply exterior paint annually to prevent rot. In freezing climates, drain water from bases to prevent cracking.
Whether you’re assembling a Lifetime-style system, building with 2x4s, or teaching a child to make a mini hoop, the right materials and steps will give you a functional, safe basketball hoop you can enjoy anywhere.