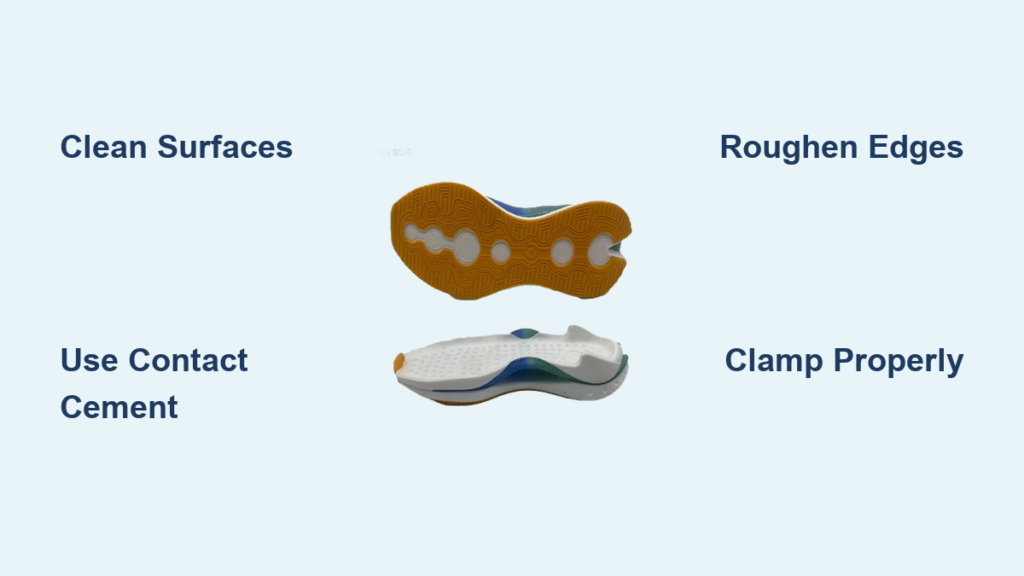
If your basketball shoes are peeling at the toe or heel, you are not alone. Knowing how to fix basketball shoe sole separation is one of the most common DIY repairs for athletes, sneakerheads, and everyday wearers. Whether it is a Jordan, Nike LeBron, or Adidas Harden, sole detachment often starts small but can quickly worsen with movement and sweat. The good news? Most separations can be fixed at home using the right adhesive and technique, no need to replace $150 sneakers over a loose sole.
This guide walks you through proven methods, tools, and insider tips to restore your basketball shoes to full performance. You will learn how to identify repairable damage, choose the best glue, prep surfaces properly, and apply long-lasting fixes whether it is a minor gap or near-total detachment. By the end, you will know exactly how to fix basketball shoe sole issues like a pro.
Assess the Damage First
Before applying any glue, inspect where and how much the sole has separated. Understanding the extent of the damage determines which repair method you need and whether professional help is warranted.
Check Separation Type
The severity of sole separation falls into three main categories. Minor gaps of 1 to 5 millimeters are common at the toe box or heel and are often fixable with precision glue injection. Major detachment over 1 centimeter requires full surface prep, contact cement, and clamping. Complete separation means the sole is fully loose and must be removed carefully to clean both surfaces before reattachment.
Do not just fix what you see visibly. Gently pry the sole with a butter knife to find where it is still bonded. Your repair must extend at least one-half inch beyond the visible gap to stop future peeling.
Determine Repair Viability
High-end basketball shoes like Air Jordans, player editions, or limited editions are worth fixing due to their cost and sentimental value. Replace cheap sneakers with delaminated midsoles or crumbling foam instead, as these will not hold a bond regardless of adhesive quality.
Choose the Right Adhesive

Using the wrong glue leads to brittle, cracked repairs. Not all shoe glue is equal, and the difference between a temporary fix and a permanent bond comes down to your adhesive choice.
Best Glue for Basketball Shoe Soles
Contact cement creates a flexible, permanent bond that mimics factory construction. It is the number one choice for cobblers and sneaker restorers. Barge Infinity Cement works best for translucent soles like Jordan 11s because it remains clear and will not yellow. S18 Contact Cement is professional grade and bonds rubber to EVA foam exceptionally well. Clear Gorilla Glue Contact Cement is widely available and strong for home users. GEAR AID Shoe Repair Glue is urethane-based, waterproof, and flexible, making it ideal for technical shoe repairs.
Glues to Avoid
Super glue, also called cyanoacrylate, dries hard and cracks under the flexing motion of walking or playing basketball. Brown Gorilla Glue expands and foams, staining white soles yellow. Shoe Goo works better as a sealant than a primary bond and lacks the strength needed for basketball shoe stress.
Gather Essential Tools
You do not need a full workshop. Most tools are household items or inexpensive hardware store finds.
What You Will Need
Sandpaper in 120 to 220 grit or a nail file creates the rough tooth surface needed for adhesion. Isopropyl alcohol or acetone removes dust and oils from bonding surfaces. A utility knife or plastic scraper removes old glue residue. Toothpicks, Q-tips, or small brushes apply glue precisely. Clamps like rubber bands, shoelaces, or heavy books apply necessary pressure during curing. A hair dryer optionally softens old glue before scraping. Nitrile gloves protect your hands, and a well-ventilated space prevents fume buildup.
Use a paper clip as a separator while glue dries to keep the sole from sticking prematurely.
Repair Major Sole Separation
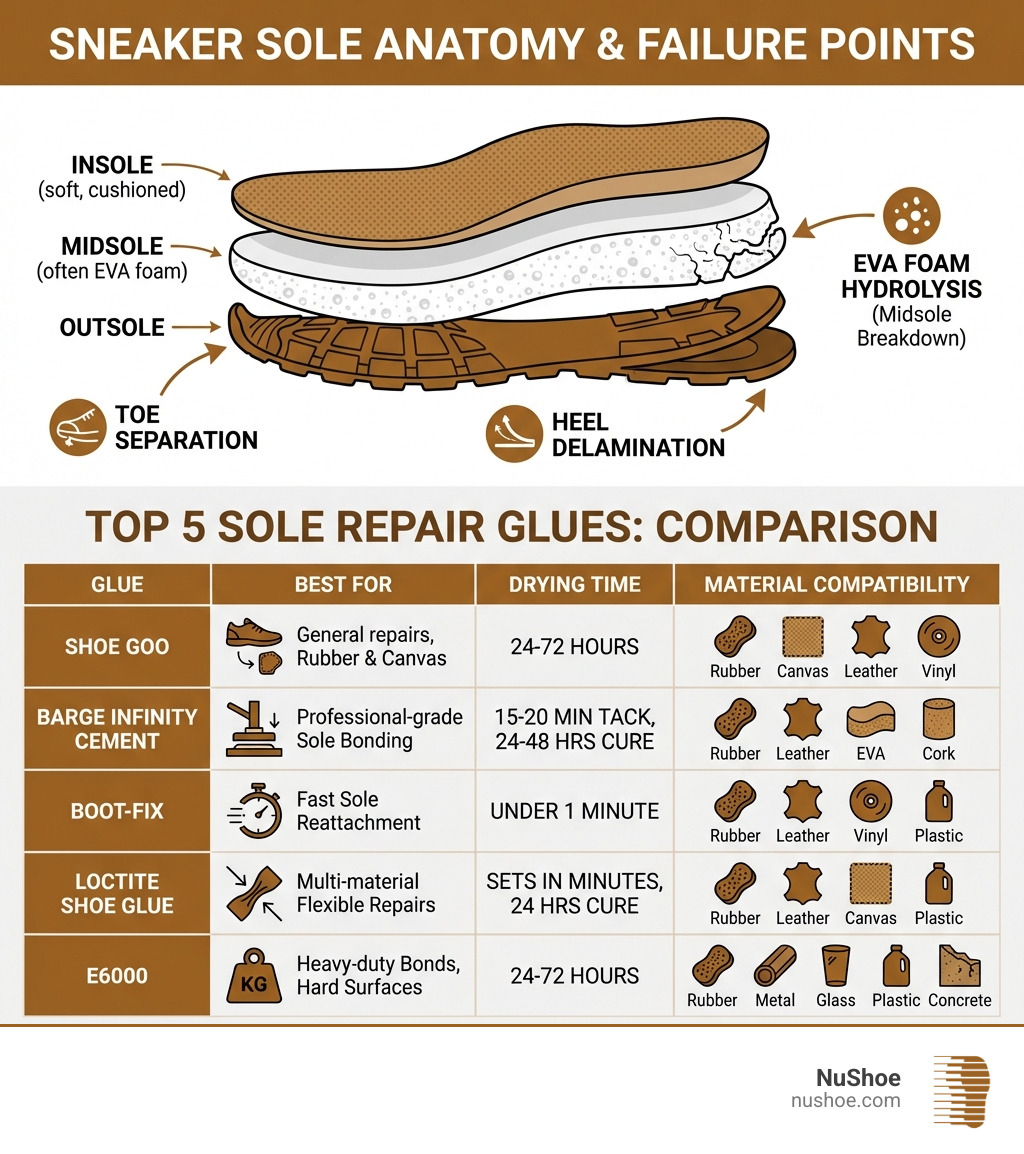
Use this method when the sole is visibly lifting more than 5 millimeters. This is the gold standard technique that creates a bond mimicking factory conditions.
Clean and Roughen Surfaces
Pry open the separation gently with a butter knife. Remove debris with a dry cloth or baby wipe. Scrape off old glue using a utility knife or eraser wheel. Sand both surfaces, the sole edge and the shoe midsole, to create a rough tooth for grip. Wipe with alcohol to remove dust and oils.
Acetone works better than alcohol on stubborn glue but test on a hidden area first. Some synthetics may discolor.
Apply Contact Cement
Apply a thin coat to both the sole and upper using a toothpick or brush. Let dry 10 minutes until tacky but not wet. Apply a second coat and wait another 10 minutes. Never over-apply. Thick glue equals weak bond.
Bond and Clamp
Align carefully, starting from the center and pressing outward. Roll with a bottle or flat tool to remove air bubbles. Wrap laces or elastic bands around the shoe and place in a shoe box with books stacked on top. Let cure 12 or more hours before wearing.
Walking lightly in the shoe after bonding helps conform pressure, but only after initial set time of 1 to 2 hours.
Fix Small Gaps Without Disassembly

For early-stage peeling, especially on retro basketball shoes, you can inject glue directly into the gap without full disassembly.
Inject Glue Into the Gap
Clean the crevice with a dry Q-tip. Use a toothpick to apply clear Barge Infinity or S18 cement deep into the gap. Repeat 3 to 4 times, letting each layer absorb slightly. Stringy glue threads are normal and indicate proper penetration.
Immediate Cleanup and Clamping
Wipe excess glue immediately with a damp baby wipe. Wrap a shoelace or rubber band tightly around the separation point and tie a knot, not a bow, to maintain constant pressure. Wait at least 2 hours before wearing. Overnight is best.
Tight clamping may crease the toe box. Stuff with socks afterward to reshape.
Handle Translucent Ice Soles
Jordan 11s, Uptowns, and other ice sole models need special care to maintain their signature look.
Avoid Yellowing at All Costs
Never use brown glue, Super Glue, or regular Gorilla Glue on translucent soles. Only use clear adhesives like Barge Infinity or Clear Gorilla Contact Cement. Work in a well-lit area to monitor glue spread and use toothpick precision since one drop goes a long way.
If glue oozes, wipe within 30 seconds before it sets. Shine a flashlight behind the sole to check for trapped air or uneven bonding.
Troubleshoot Common Repair Failures
Even experienced fixers run into issues. Here is how to avoid and fix them.
Bond Failed After a Few Days
Poor surface prep, specifically dirt or old glue blocking adhesion, causes this. Reopen the area, sand thoroughly, clean with alcohol, and reapply contact cement.
Glue Is Brittle or Cracked
Using Super Glue or non-flexible adhesive causes this. Scrape off the old bond, switch to contact cement, and re-bond the surfaces.
Sole Still Peeling from One Side
The bond did not extend far enough back. Pry open further and extend the glued area 1 inch beyond the last firm point.
White Residue or Stains
Moisture reacted with urethane glue like Gear Aid. Wipe with alcohol. The residue is cosmetic and harmless.
Prevent Future Sole Separation

A repaired sole can last years if you protect it from further damage.
Wear and Storage Tips
Rotate your shoes and do not wear the same pair daily. Foam breaks down faster with constant stress. Use wooden shoe trees to reduce creasing and support the midsole bond. Store in a cool, dry place since heat and humidity degrade adhesives over time. Avoid washing machines because water weakens glue lines. Spot-clean only.
Clean Soles Regularly
Wipe soles after games with a damp cloth. Remove dirt buildup that traps moisture and accelerates delamination.
For Jordans and retro models, proactively inject glue into tiny toe gaps before they grow into major problems.
When to Go Pro
Some damage needs expert hands. Send to a cobbler if the midsole foam is crumbling or split, there is dog bite damage or mesh tears in the upper, you have tried DIY twice and it failed, or it is a rare or collectible pair like retro Jordans.
Look for local cobblers with 10 or more years of experience. Mail-in services like Cobblers Direct, Soles2Soul, or Renude offer sneaker-specific repairs. Costs range from $25 to $60 depending on damage level. Professionals report a 90 percent success rate even on severely damaged basketball shoes.
Final Tips for a Lasting Fix
Two coats of contact cement beat one every time. Cure time is non-negotiable. Twelve hours equals maximum durability. Flex test before wearing by bending the shoe gently. If there is no separation, you are good. Check for new gaps monthly if you use the shoes heavily and reinforce as needed.
Frequently Asked Questions About How to Fix Basketball Shoe Sole
Can I use regular Super Glue to fix my basketball shoes?
No. Super glue dries hard and brittle, which cracks under the flexing motion of walking or playing basketball. It creates uncomfortable lumps and fails quickly. Use contact cement like Barge Infinity or S18 for flexible, lasting bonds.
How long does it take to fix a basketball shoe sole?
Minor fixes take 2 to 4 hours including curing time. Major separations requiring full prep and clamping need 12 to 24 hours before the shoe is wearable again.
Why does my sole keep peeling even after repair?
The repair did not extend far enough back. You must extend the glued area at least one-half inch beyond where the sole is visibly loose. Old glue or dirt left on surfaces also prevents proper bonding.
Can I fix translucent ice soles without yellowing?
Yes. Use only clear adhesives like Barge Infinity Cement or Clear Gorilla Glue Contact Cement. Never use brown glue or standard Gorilla Glue, which will stain and ruin the translucent appearance.
Is it worth repairing cheap basketball shoes?
Probably not. Cheap sneakers with delaminated midsoles or crumbling foam will not hold a bond regardless of adhesive quality. Replacement is more economical than repair for low-cost shoes.
How do I know if my shoes need professional repair?
Seek professional help if the midsole foam is crumbling, there is dog damage or mesh tears, DIY attempts have failed twice, or the shoes are rare or collectible like vintage Jordans.
Key Takeaways for Fixing Basketball Shoe Soles
Knowing how to fix basketball shoe sole separation saves money, extends shoe life, and keeps your favorite kicks on the court. Contact cement like Barge Infinity or S18 creates flexible, permanent bonds that mimic factory construction. Proper surface prep, including cleaning and roughening, determines whether your repair lasts months or years. Two thin coats with 10-minute drying time between applications outperform one thick layer every time.
Do not trash them. Repair them. Your Jordans, LeBrons, and Kobes are not done just because the sole came loose. A few tools, the right glue, and this guide are all you need to bounce back stronger.