You’re ready to shoot hoops, but your basketball feels flat and there is no pump in sight. This happens at parks, during travel, or just when you forget to check your gear before heading out. The good news is you can inflate a basketball without a traditional pump using everyday items or nearby resources. While none of these methods match the efficiency of a proper hand pump, several can get you close enough to play.
Basketballs require 7.5 to 8.5 PSI for optimal performance. Without a gauge, use the drop test: drop the ball from 6 feet and it should bounce back between 49 and 54 inches. Below that range means it needs more air. This guide walks you through proven ways to inflate a basketball without a pump, ranked by practicality and effectiveness.
Use a Compressed Air Can for Quick Inflation
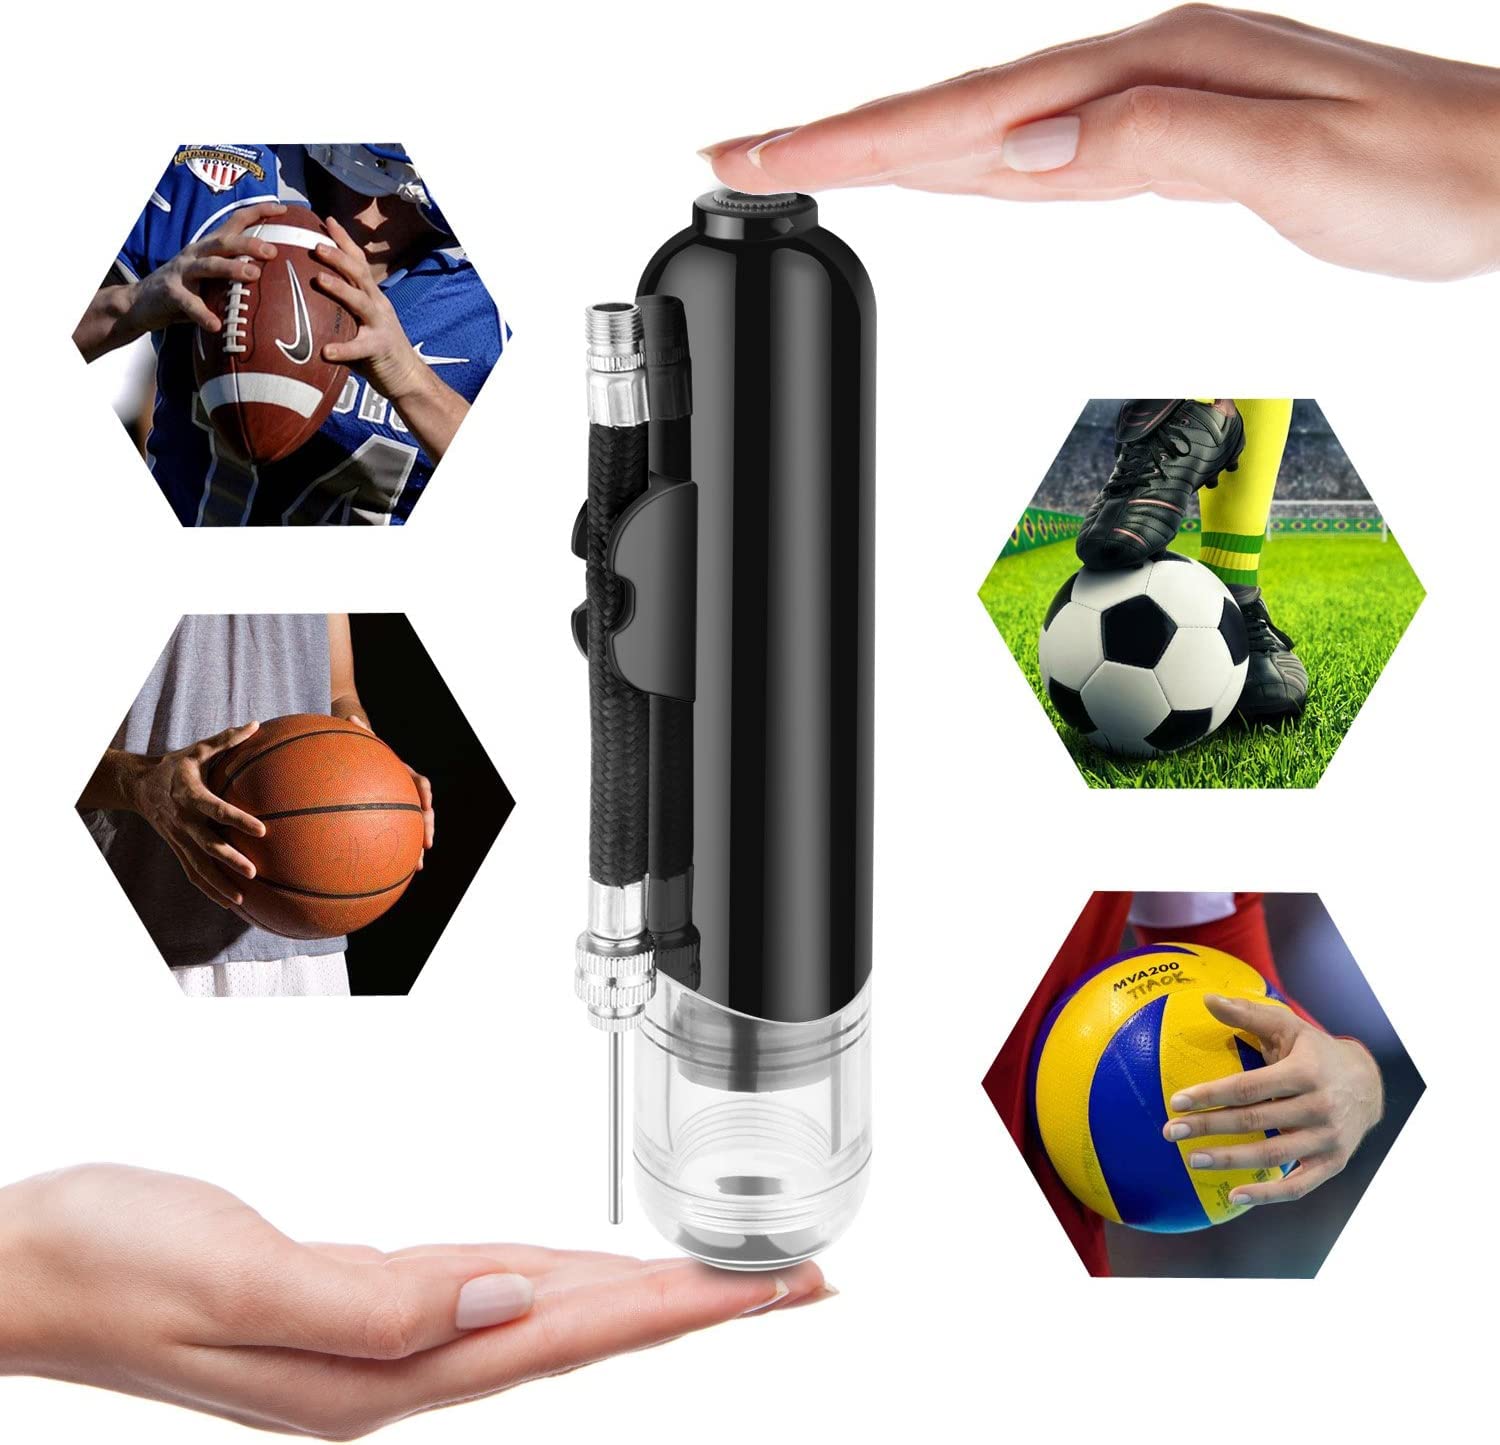
Compressed air cans, commonly used to clean electronics, are one of the fastest ways to add air in a pinch. They work well for topping off or moderate inflation but are not ideal for fully inflating a completely flat ball.
Insert the Straw into the Valve
Remove the narrow plastic straw from the can. Moisten the tip slightly to help it seal inside the ball valve. Insert it straight and firmly but do not force it. If it wobbles, wrap tape around the straw for a tighter fit.
Spray in Short Bursts
Hold the can upright and spray in 1 to 2 second bursts. Let the can warm up between sprays because prolonged use chills the can rapidly, which can freeze the valve or damage the ball interior. After each burst, check firmness by pressing with your fingers.
Rotate the ball while inflating to distribute air evenly. Stop before the ball feels completely firm because over-inflation happens fast and can damage the ball.
Inflate a Basketball by Mouth Using Simple Tools
If you are truly desperate, you can inflate a basketball using only your breath. It is physically demanding and will not reach full pressure, but it can restore enough shape for light shooting or warm-up drills.
Seal Around the Valve
Place your mouth directly over the valve and blow steadily. Use short, forceful breaths. The rubber valve is small, so a tight seal is crucial. Rotate the ball between breaths to prevent one side from bulging.
Use a Straw for Better Leverage
Insert a rigid drinking straw into the valve. Seal the gap around the straw with your fingers or a cloth, then blow through it. The straw acts like a nozzle, giving you slightly more pressure than direct mouth inflation.
Avoid getting saliva inside the ball. Use a tissue over the valve if needed. Never use this method if the ball is for shared use because hygiene matters.
Build a DIY Bottle Pump from Household Items

A plastic water or soda bottle can be turned into a manual air pump using simple physics. This method is surprisingly effective and requires no special tools.
Cut and Fit the Bottle
Use a 500ml to 1L plastic bottle. Cut off the bottom cleanly with scissors or a knife. Remove the cap. Insert the neck of the bottle into the ball valve. The fit should be snug. If loose, wrap tape around the neck to thicken it.
Pump by Squeezing
With the neck sealed in the valve, squeeze the bottle hard to push air into the ball. Release the squeeze slowly because air will refill the bottle from the open bottom. Repeat 20 to 30 times. Each compression adds a small amount of air.
This works best if you can create a one-way seal, but even without it, repeated squeezing helps. It is slow, but better than nothing.
Try Precision Inflation with a Medical Syringe
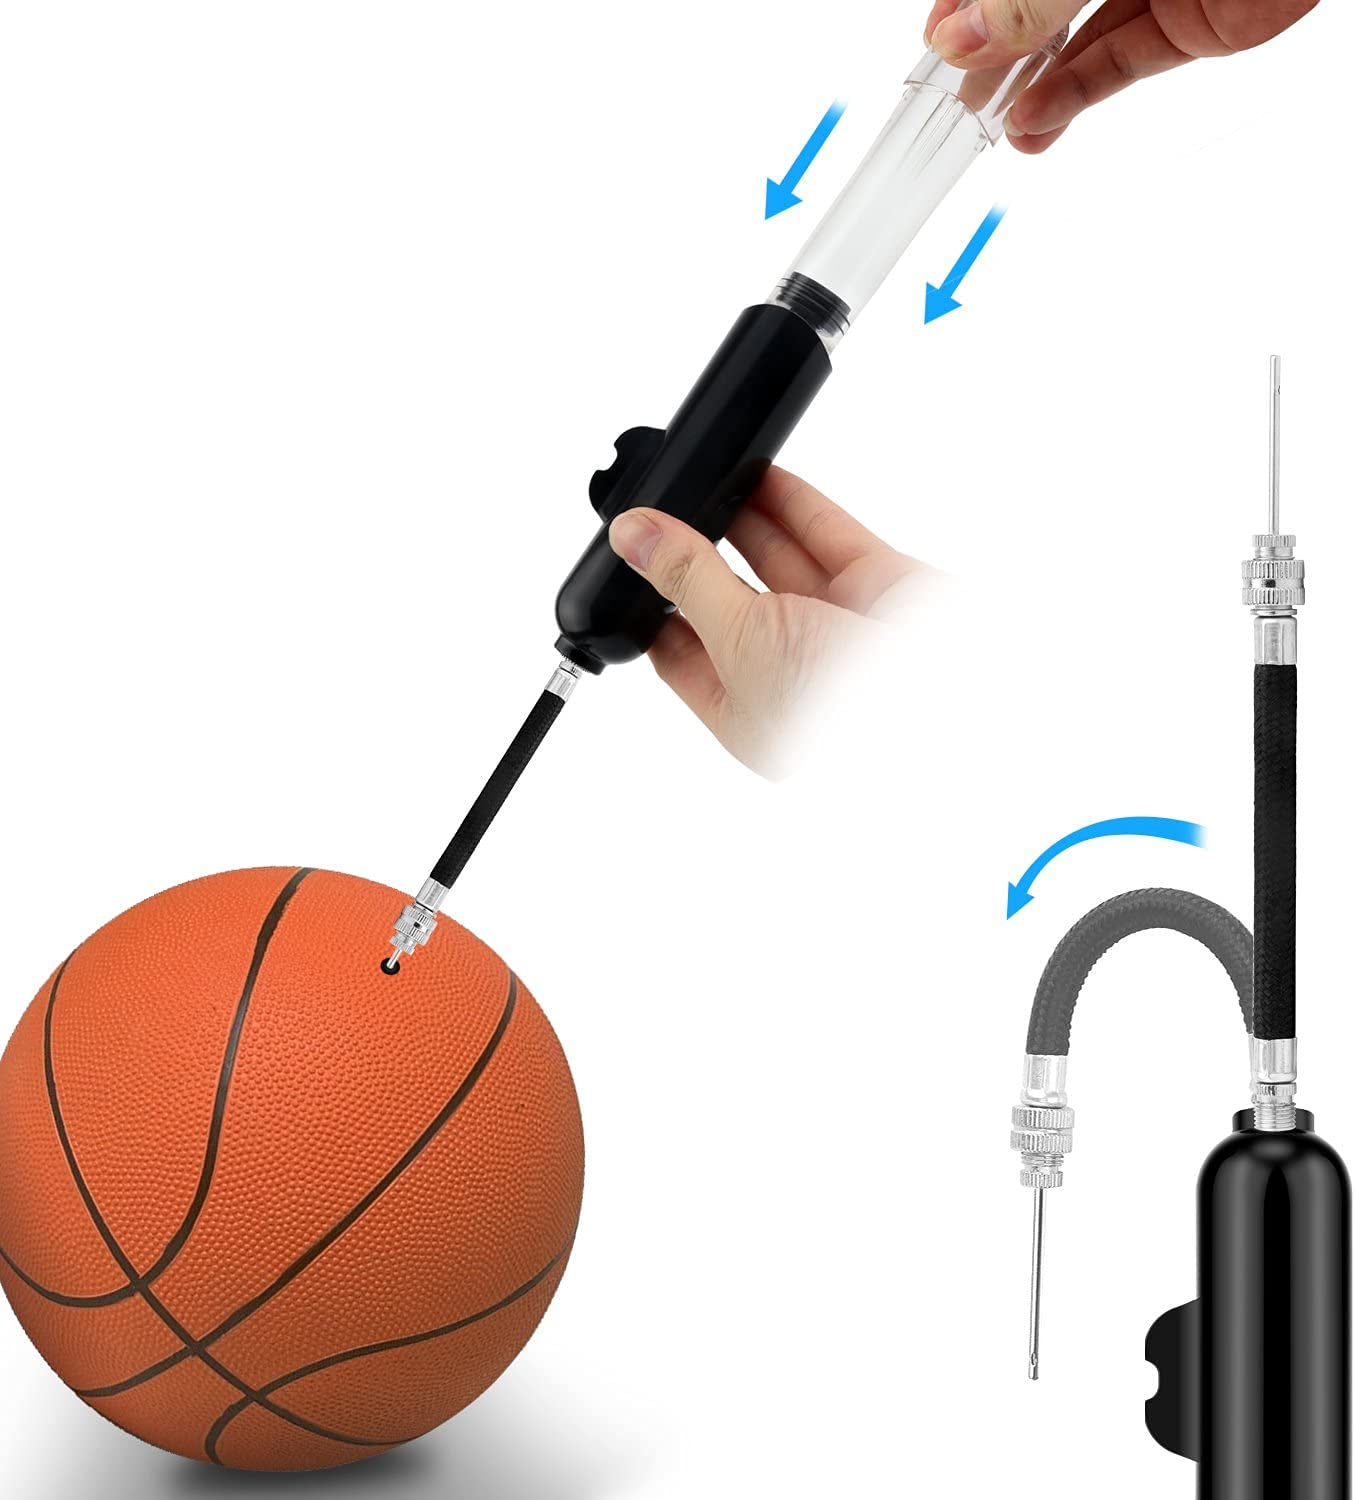
A large medical syringe, 50 to 100mL, can inject air with precision. It is ideal for fine-tuning pressure rather than full inflation. If you only need a little more firmness, it works perfectly.
Attach and Push Air
Insert the syringe tip into the valve. If it does not fit, use a small rubber tube or needle cap as an adapter. Pull the plunger to draw air, then push it slowly into the ball. Repeat as needed.
Unlike mouth or bottle methods, a syringe gives you control. You can avoid over-inflation and add air in small, measurable bursts.
Visit a Gas Station for Reliable Air
One of the most reliable alternatives is a gas station air compressor. Many have free compressed air, especially in states like California where it is legally required for customers who buy fuel.
Bring a Needle Adapter
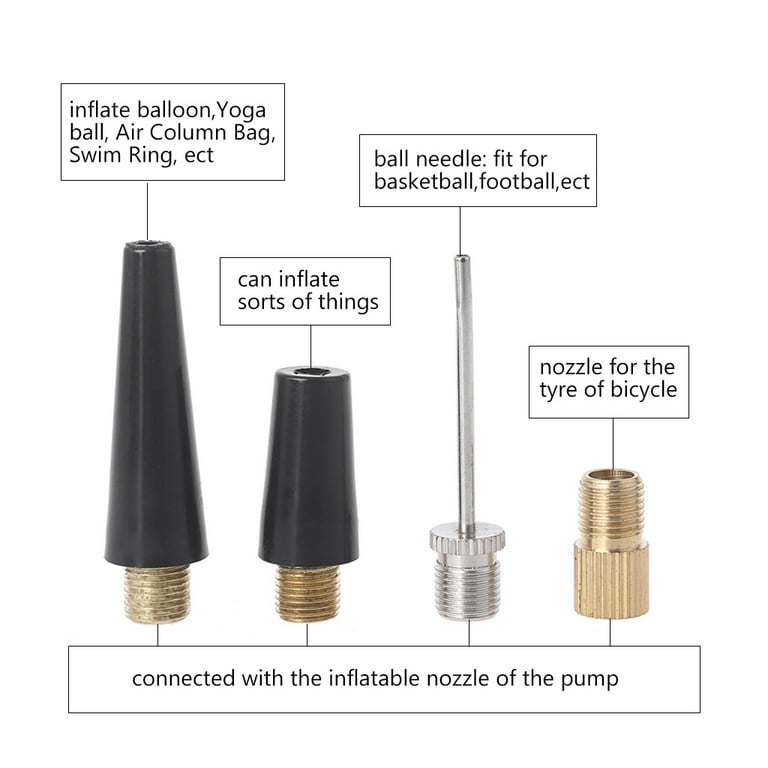
Most gas station pumps are designed for tires, not balls. You will need a ball inflation needle, often included with new basketballs. Screw the needle into the ball, then attach the pump head.
Use Short Bursts
Press the handle in short pulses. Do not hold it down. Ball pressure is much lower than tire pressure, so over-inflation happens fast. Check firmness every few seconds.
If you do not have a needle, some stations offer multi-nozzle attachments. Ask the attendant. Always clean the nozzle before use to avoid dirt entering the valve.
Find Professional Help at a Bike Shop
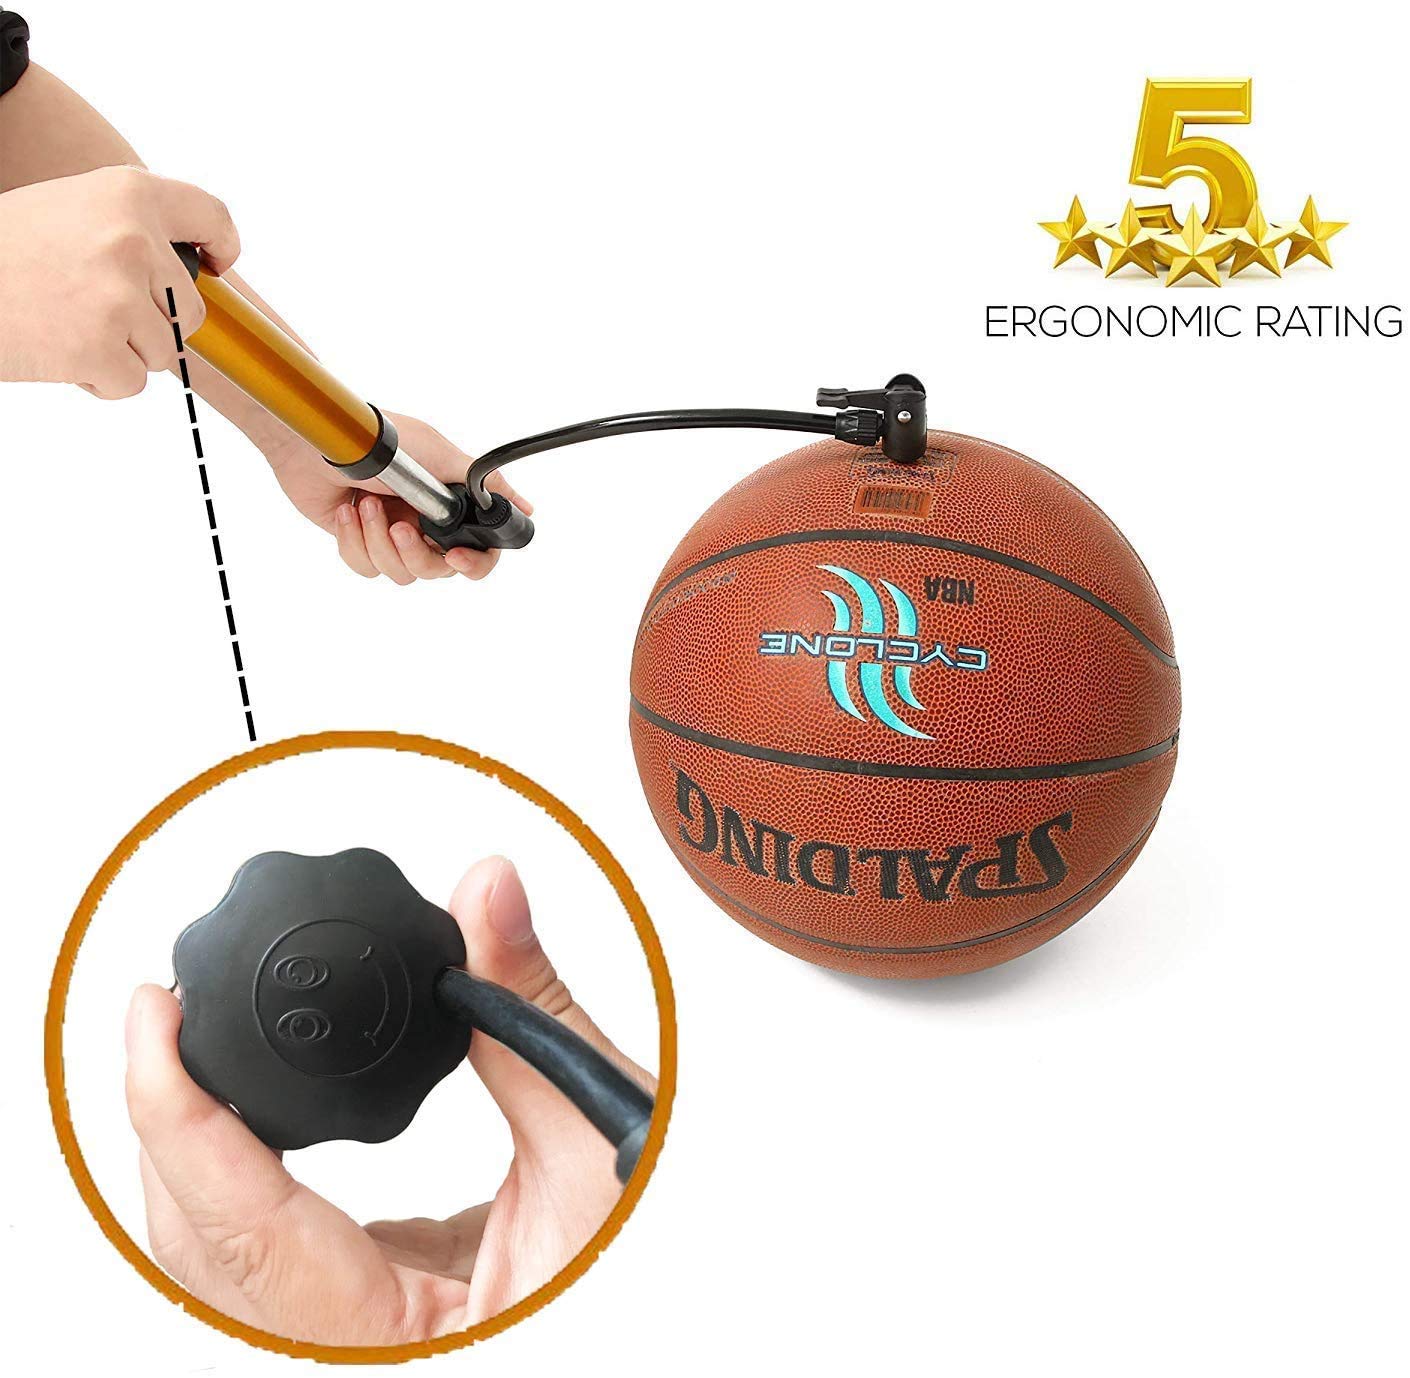
Bicycle shops often have high-quality floor pumps with dual-head nozzles that fit both bike tires and sports balls. Staff usually allow customers to use them, especially if you are friendly or buy something small.
Call Ahead First
Not all shops permit ball inflation. Call and ask if you can use their pump to inflate a basketball. If yes, bring your needle. If not, try another location.
Use the Ball Setting
Many bike pumps have a switch for ball or bladder mode, which limits pressure output. This protects the ball from sudden bursts. Pump slowly and check bounce frequently.
Buy a small item like a bike light or patch kit as a thank you. It builds goodwill and ensures access next time.
Why the Pen Needle Hack Does Not Work
You may have seen videos of people building a makeshift pump using a pen, paperclip, and tape. While technically possible, this pen needle method is impractical and ineffective for real play.
It Fails for Real Games
The plastic sleeve left in the valve by a paperclip does not create a reliable air path. The connection is fragile, leaks easily, and requires two people to hold. Testing shows it delivers only a fraction of the needed 8 PSI.
It is a party trick, not a solution. Save your time and energy for better methods.
Test Inflation Using the Drop Test
Without a pressure gauge, you need reliable ways to judge if your ball is ready. Two field-tested methods work anywhere.
Perform the Drop Test
Hold the ball so its bottom is exactly 6 feet off the ground. Drop it freely on a hard surface. Measure how high the top bounces. Under 49 inches means add more air. Over 54 inches means release a little air. Between 49 and 54 inches means you are game-ready.
Use the Finger Compression Test
Press the ball firmly with your thumbs. It should resist but give slightly. If it feels soft or dimples deeply, it needs air. If it feels rock-hard, it is over-inflated.
Cold temperatures make balls feel softer. Warm the ball in your hands or indoors before testing.
Prevent Basketball Flat Spots with Proper Care
Once you have solved the immediate problem, avoid repeat situations with simple habits.
Keep a Mini Pump Handy
Store a small hand pump in your gym bag, car, or closet. Many foldable or keychain models cost under $10 and take up almost no space.
Check Pressure Weekly
Even unused balls lose air over time. Check firmness every week if you play regularly. Top off as needed. Do not wait until the ball is flat.
Store Properly
Keep the ball indoors, away from direct sunlight and extreme temperatures. For long-term storage, slightly deflate it to reduce stress on the bladder.
Never leave a basketball in a hot car or outside overnight. Heat and UV rays degrade rubber and cause leaks.
Key Takeaways for Inflating a Basketball Without a Pump
Inflating a basketball without a pump is possible, but not all methods are equal. Gas stations and bike shops offer the best results because they provide proper equipment and controlled pressure. Compressed air cans and DIY bottle pumps work in emergencies for moderate inflation. Mouth inflation and pen hacks are last resorts with limited payoff.
Always verify pressure with the drop test or finger compression check. Never rely on feel alone because over-inflation causes damage and under-inflation ruins gameplay. Once you are done playing, invest in a $10 hand pump to save time and frustration next time the ball goes flat.
Frequently Asked Questions About Inflating a Basketball Without a Pump
Can you inflate a basketball with just your mouth?
Yes, but it is physically demanding and rarely reaches the 7.5 to 8.5 PSI needed for proper gameplay. Using a straw improves the seal and gives slightly more pressure. This method works for casual shooting or warm-ups but not for regulation play.
What household items can I use to inflate a basketball?
A plastic water bottle makes a decent DIY pump. Cut off the bottom, insert the neck into the valve, and squeeze repeatedly. A compressed air can works for quick top-ups. A large medical syringe helps with precision adjustments.
How do I know if my basketball has enough air without a gauge?
Use the drop test. Hold the ball 6 feet above a hard surface and drop it. It should bounce back between 49 and 54 inches. You can also press firmly with your thumbs. It should resist but give slightly.
Is the pen needle hack effective?
No. Testing shows it delivers only a fraction of the required pressure. The connection is fragile, leaks easily, and requires two people to operate. It is a novelty trick, not a practical solution.
Where can I find free air for my basketball?
Gas stations often provide free compressed air, especially in California where it is legally required for fuel customers. Bike shops usually allow free pump use if you are polite or buy a small item. Call ahead to confirm availability.
How much air pressure does a basketball need?
Basketballs require 7.5 to 8.5 PSI for optimal performance. Too little pressure causes poor bounce and handling. Too much pressure can damage the ball or make it too hard to control.