Installing a basketball hoop transforms your backyard into a personal court, but doing it right demands precision, the right tools, and a solid understanding of the process. Whether you’re setting up an in-ground system for serious play or assembling a portable unit, how to put up a basketball hoop the correct way ensures safety, durability, and professional-level performance. A poorly installed hoop can wobble, crack under pressure, or even become a hazard during play.
This guide walks you through every critical step, from choosing the location and pouring concrete to attaching the backboard and maintaining the net. You’ll learn how to avoid common mistakes like using weak concrete, skipping utility checks, or misaligning the pole. We cover in-ground installation, component assembly, and essential maintenance tips that extend your hoop’s life.
Choose the Right Location for Your Basketball Hoop
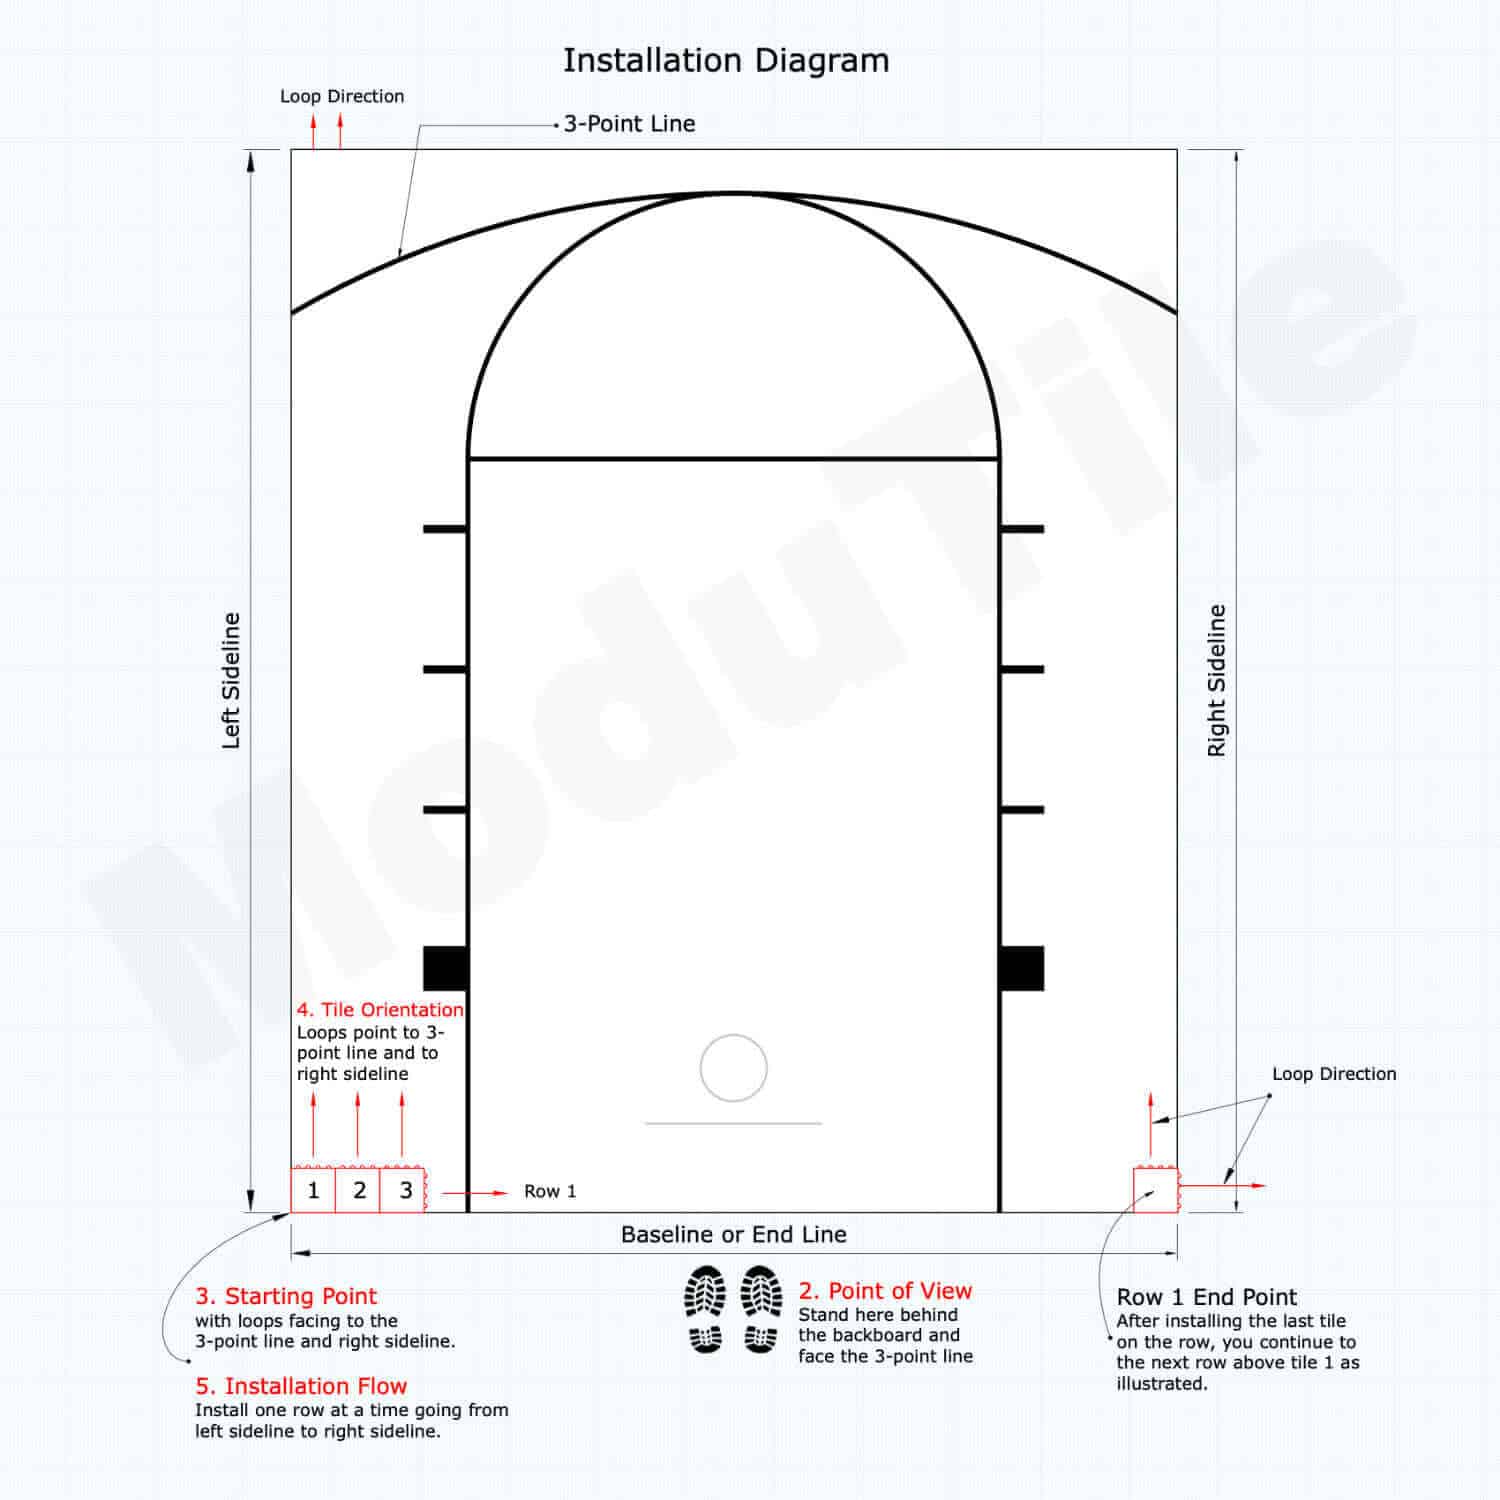
Selecting the correct spot is the foundation of a successful installation. The ideal location must be flat and paved, such as a driveway, to ensure structural integrity and player safety.
Face North to Avoid Sun Glare
Position your hoop so the backboard faces north. This prevents direct sunlight from blinding players during morning and evening games, which are prime shooting times for practice. A south-facing hoop turns every layup into a squinting challenge, especially in summer months.
Clear Space and Safety Zones
Ensure the area has no overhead power lines within 20 feet of the goal. Even a slight lean or pole flex can bring metal dangerously close to live wires. Always call 811 before digging to locate buried utilities.
Allow 28 to 30 feet from the pole to the back boundary for full three-point range. A 40-foot width gives players space to move behind the arc and reduces collision risks near walls or fences.
Optimize Overhang for Playability
The overhang, which is the distance from pole center to backboard edge, should be 2 to 4 feet. This keeps players safe from pole contact during drives while minimizing backboard shake.
Avoid overhangs over 5 feet. They increase vibration significantly, especially with glass backboards, and cut into usable court space by over 7 feet when combined with the rim’s extension.
Dig and Prepare the Foundation

The concrete foundation determines how stable your hoop remains for years. Cutting corners here leads to wobbling, cracking, or total system failure.
Mark and Dig the Hole Correctly
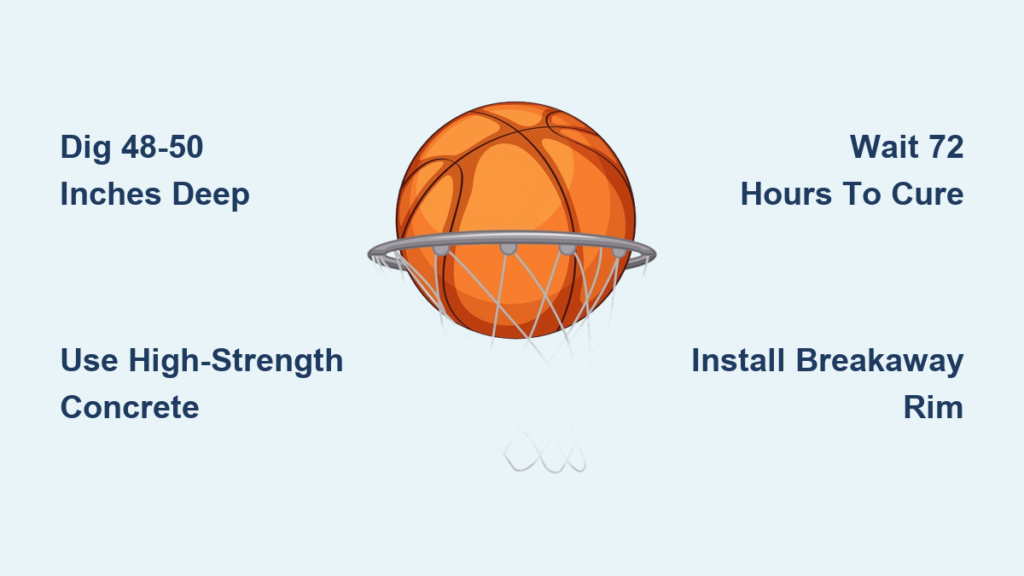
Use a spade or auger to dig a hole 48 to 50 inches deep and 16 to 18 inches wide. These dimensions support the anchor and prevent shifting in wind or heavy use.
Double-check your anchor kit specs because some systems require exact diameters. Dig slightly deeper than needed to add a 2-inch gravel base for drainage and frost protection.
Mix High-Strength Concrete Properly
Use 11 to 13 bags of 80-lb high-strength concrete or 10 to 14 bags of 60-lb. Always buy 1 to 2 extra bags because running out mid-pour creates weak spots.
Mix each 80-lb bag with 6 pints of water, or 4 pints for 60-lb bags. The ideal consistency is thick oatmeal, wet enough to fill voids but firm enough to hold shape.
Pro Tip: Use a 2-liter soda bottle to measure water when a bucket isn’t available.
Pour and Set the Anchor
- Fill the hole halfway with concrete.
- Place the J-bolt or hinge anchor into the wet mix.
- Use a level to ensure bolts are plumb and aligned.
- Fill the rest of the hole, agitating with a shovel to remove air pockets.
- Smooth the top with a trowel and slope edges slightly for water runoff.
Cure Concrete Before Attaching Pole
Concrete needs time to reach full strength. Rushing this step compromises the entire installation.
Wait at Least 72 Hours
Never rush curing. In warm weather, wait 72 hours before installing the pole. In cooler temperatures, extend to 4 to 5 days. Some manufacturers recommend waiting until Day 5 for maximum stability.
Never pour on frozen ground. Thaw the soil completely first, otherwise the slab cracks as the earth shifts.
Use Curing Blankets in Cold Weather
If installing below 40°F, use hot water when mixing and cover the slab with curing blankets. These trap heat and moisture, preventing early freeze damage.
DIY cold-weather installs are risky. Renting blankets and augers often costs more than hiring a pro, so consider professional help if temperatures are low.
Select and Install the Pole
The pole is the central support structure, and its characteristics directly influence stability and play feel.
Choose a 7-Gauge Square Pole
Opt for a 7-gauge square steel pole, 4 to 6 inches in diameter. It resists bending and reduces shake better than round or thinner 11-gauge models.
One-piece poles are stiffer and quieter than multi-piece versions, which can rattle at connection points.
Pick the Right Anchor System
Threaded J-Bolt Method
This method requires lifting the pole over bolts and securing from above. You need a ladder and at least three people due to the weight. Best for permanent setups.
Hinge Ground Anchor
Assemble the entire pole, arms, and backboard on the ground. Lift and lock into place with one bolt. This method is easier and safer, plus allows future relocation.
Safety Note: Always have at least three people during pole erection. Two lift while one guides and secures.
Attach Backboard and Rim
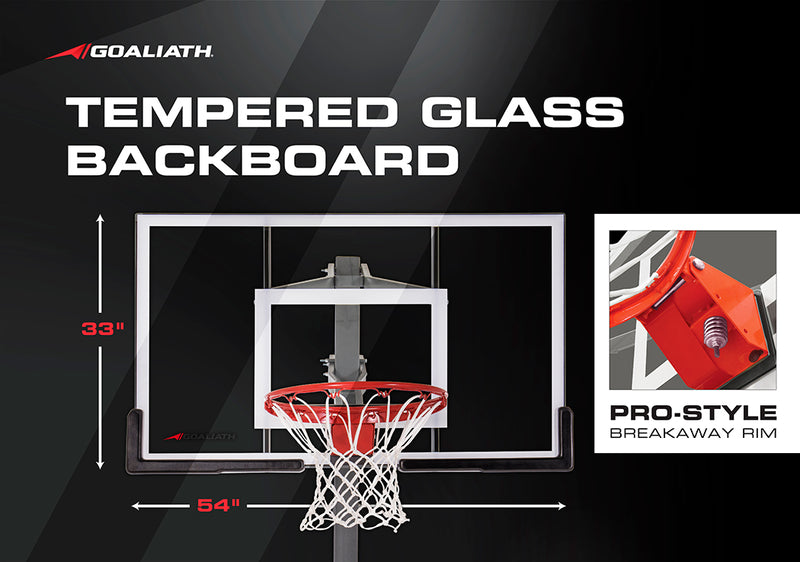
The backboard material dictates rebound quality and the overall playing experience.
Install Tempered Glass for Best Performance
Tempered glass backboards offer pro-level rebound, spin, and durability. They’re shatterproof and ideal for frequent dunking.
Acrylic and polycarbonate are budget-friendly but less rigid. Expect more flex and inconsistent bounces.
Warning: Backboards are heavy. Use a ladder and at least one helper. Wear gloves and eye protection during installation.
Mount the Breakaway Rim Securely
Use a breakaway rim with spring hinges. It flexes under dunking force, protecting the backboard and rim from damage.
Attach with the provided screws. Do not overtighten. Use a torque wrench if specified, with common settings at 60 to 80 ft-lbs.
Loop the net onto each hook, starting at the top and spacing evenly. A slightly dampened nylon net is easier to stretch and install.
Maintain the Net and System
Regular maintenance extends the life of your basketball system and keeps it game-ready.
Check and Clean the Net Monthly
Inspect for fraying, knots, or weakened loops. Clean with mild soap and lukewarm water. Avoid bleach. Rinse well and dry in the shade to prevent UV damage.
Rotate the net quarterly to balance wear, especially on sun-exposed sides.
Protect During Extreme Weather
Remove or lower the net during heavy snow, ice, or storms. Frozen nets add weight that damages the rim or backboard.
Cover the rim or lower the height in high-wind areas to reduce stress on the pole.
Keep a Spare Net Handy
Nets cost $5 to $20. Keeping a spare means no game-day delays. Choose nylon or chain-link for outdoor hoops because both resist rain and UV degradation.
Use the Right Tools and Help
Having the correct equipment makes the difference between a smooth installation and a frustrating ordeal.
Gather Essential Equipment
Excavation tools: Spade, shovel, auger (optional), tape measure
Mixing tools: Wheelbarrow, hoe, water source
Assembly tools: Stepladder, level, rubber mallet, 1/2-inch torque wrench, steel punch
Safety gear: Work gloves, eye protection, 811 contact info
Rent heavy tools like augers if needed. Most hardware stores offer daily rentals.
Get at Least Three People
Lifting the pole, aligning the anchor, and securing bolts is not a solo job. Three to four capable helpers reduce injury risk and ensure precision.
Assign roles: one to guide, two to lift, one to check level and tighten connections.
Decide: DIY or Hire a Pro?
Weigh your skills, budget, and timeline before committing to either approach.
Weigh the DIY Pros and Cons
Pros: Save $200 to $500 in labor costs, plus personal satisfaction from completing the project yourself.
Cons: Requires significant time, physical effort, multiple helpers, and possibly tool rentals. Mistakes like bad concrete mix or misaligned anchors can ruin a $500-plus system.
When to Hire a Professional
Hire a pro if you’re installing in cold weather, dealing with rocky or uneven terrain, using a high-end glass system, or lacking help or tools.
Professionals work faster, bring their own equipment, and ensure long-term stability. For expensive systems, professional installation is a smart investment.
Final Tips for Long-Term Success
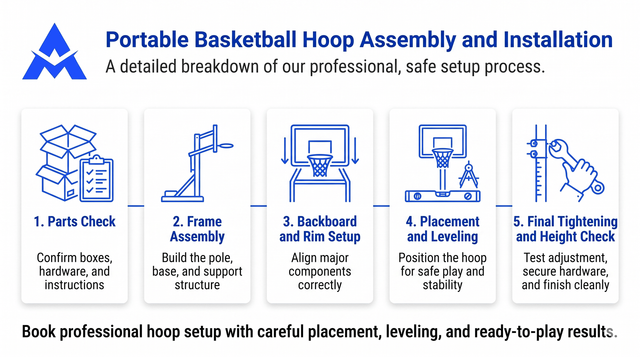
Following these key rules ensures your hoop stands the test of time.
Follow the 7 Key Rules
- Hole Size: 48 to 50 inches deep, 16 to 18 inches wide
- Concrete: High-strength, oatmeal consistency, 11 to 13 bags
- Cure Time: 72-plus hours (longer in cold weather)
- Pole: 7-gauge square steel, one-piece preferred
- Backboard: Tempered glass for best play
- Rim: Breakaway type with spring mechanism
- Clearance: 20-plus feet from power lines
Prevent Common Failures
Skipping the 811 call risks hitting gas, water, or electric lines. Using too little concrete leads to wobbling and pole failure. Rushing the cure causes concrete to crack under load. Ignoring overhang increases injury and vibration risk.
Frequently Asked Questions About Putting Up a Basketball Hoop
How deep should I dig the hole for a basketball hoop?
Dig the hole 48 to 50 inches deep and 16 to 18 inches wide. These dimensions provide enough depth for proper frost protection and anchor stability.
How long does concrete take to cure before installing the pole?
Wait at least 72 hours in warm weather. In cooler temperatures, extend to 4 to 5 days. Some manufacturers recommend waiting until Day 5 for optimal stability.
What type of pole is best for a residential basketball hoop?
A 7-gauge square steel pole, 4 to 6 inches in diameter, offers the best combination of strength, durability, and vibration reduction. One-piece construction is preferred over multi-piece poles.
How far should the basketball hoop be from power lines?
Position the hoop at least 20 feet away from any overhead power lines. This safety clearance prevents accidents if the pole leans or flexes during play.
Can I install a basketball hoop in cold weather?
It’s possible but challenging. Never pour on frozen ground. Use hot water for mixing and curing blankets to trap heat. Consider hiring a professional because the added complexity often costs more than DIY savings.
How do I maintain my basketball hoop throughout the year?
Inspect the net monthly for fraying. Clean with mild soap and water. Remove the net during extreme weather. Tighten bolts and check level annually to prevent loosening over time.
Key Takeaways for Putting Up a Basketball Hoop
A correctly installed basketball hoop lasts 10 to 20 years with basic care. The foundation is everything, so dig deep, mix concrete to thick oatmeal consistency, and wait at least 72 hours before erecting the pole.
Choosing quality components matters. A 7-gauge square pole, tempered glass backboard, and breakaway rim provide professional-level performance and durability. Don’t cut corners on materials to avoid constant repairs.
Safety requires planning. Call 811 before digging, maintain 20-foot clearance from power lines, and always have at least three people helping during pole and backboard installation. Now that you know how to put up a basketball hoop the right way, you’re ready to shoot, dunk, and play with confidence.