
Imagine you’re sprinting down the right wing, the defense is stretched, and a perfectly timed pass lands at your feet. You’re one-on-one with the keeper, but you’re right-foot dominant. Do you cut inside, lose time, and let the moment slip away?
Now imagine stepping into that same situation, but this time your left foot is just as dangerous as your right. No hesitation. No repositioning. Just a clean strike, curled into the far corner. That’s the power of mastering how to shoot a soccer ball with your left foot.
For most players, the weak foot is a liability. But it does not have to be. With the right technique, drills, and mindset, your left foot can become a game-changing weapon. Whether you are a right-dominant player building ambidexterity or a natural southpaw refining your craft, this guide delivers everything you need to shoot confidently, accurately, and powerfully with your left foot.
Master the Core Mechanics
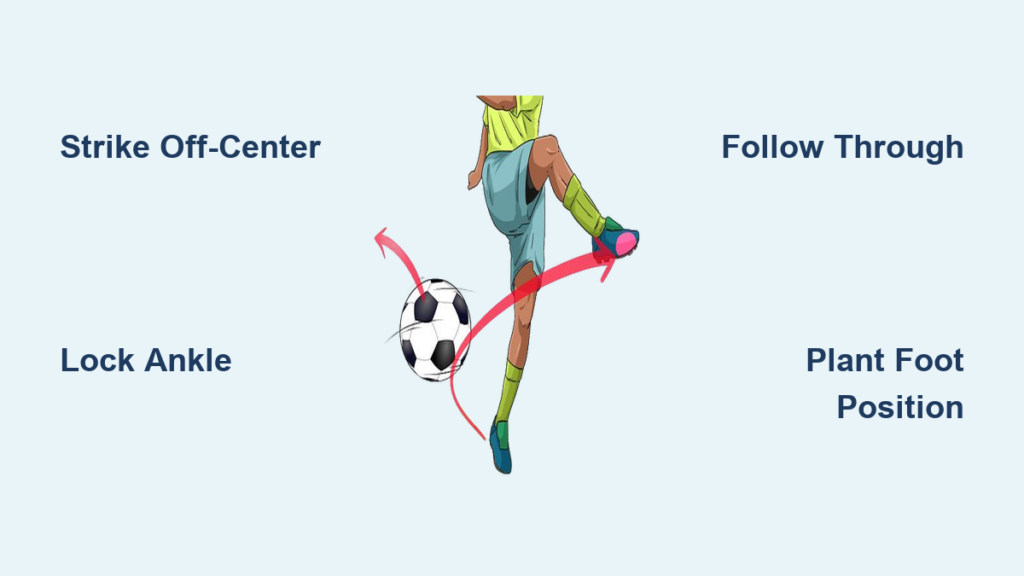
Lock Your Ankle for Clean Contact
The foundation of any powerful, accurate shot starts in your foot. Ankle stability is non-negotiable.
Point your toes downward just before impact. Lock your ankle firmly. This creates a firm striking surface and prevents energy loss. Without a locked ankle, you will toe-poke the ball, leading to mis-hits, weak shots, and loss of control.
Pro Tip: Practice this motion slowly at first. Stand still, lift your left foot, point the toes down, and simulate a shot. Feel the tension in your ankle. That is the position you want at contact.
Perfect Your Plant Foot Placement
Your right foot (non-kicking foot) is your aiming guide. Misplace it, and your shot will follow.
Place your plant foot 10 to 15 cm (4 to 6 inches) from the ball. Position it slightly behind or beside the ball, never ahead. Point your plant foot directly at your target to align hips and shoulders.
Visual Cue: If your plant foot is too far left or right, your body will twist, pulling the shot off target. Watch elite players. Their plant foot is always square to the goal.
Align Body for Accuracy and Power
Your entire body must work as one unit. Even perfect foot placement fails if your posture is off.
Keep your head over the ball at contact. Do not lift it early. Tilt your torso slightly forward, not backward. Leaning back causes sky-high shots. Square your shoulders and hips to the target, or open slightly depending on the angle.
Common Mistake: Players lift their head too soon, shifting balance and missing the sweet spot. Keep eyes on the ball until after contact, every time.
Choose the Right Striking Technique

Instep Shot: Max Power from Distance
Use this when you need velocity and range, like a 25-yard rocket.
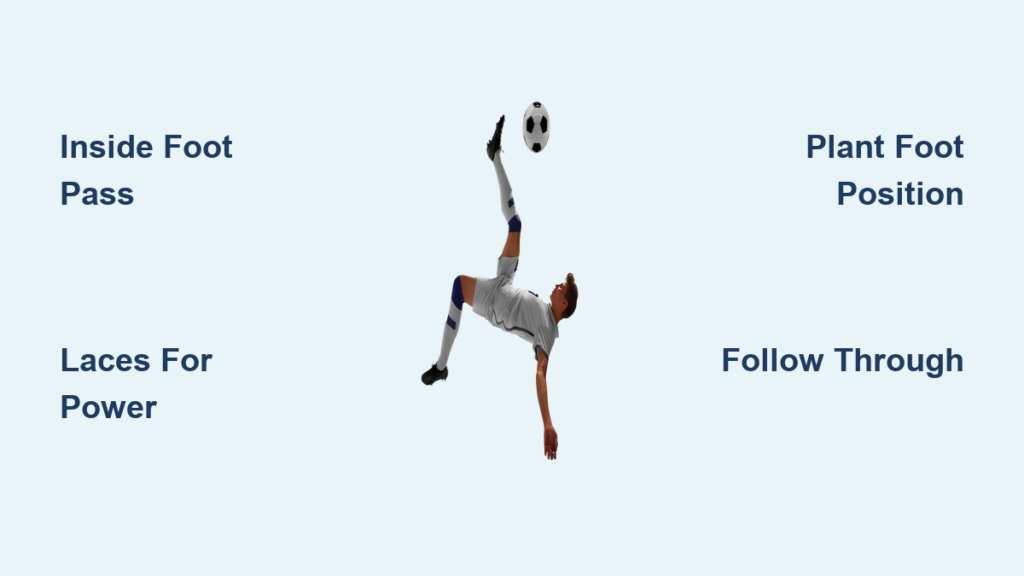
Strike with the laces (dorsal surface) of your left foot. Lock your ankle, place your plant foot beside the ball, and swing your leg through. Your knee should pass over the ball at contact. This technique is ideal for shots from 18 to 25 yards.
Pro Tip: Follow through toward the target. For a low drive, keep your foot level. For lift, strike slightly under the ball.
Inside-of-Foot Shot: Precision and Placement
This technique is best for close-range finishes, tight angles, or curling shots.
Use the medial side of your left foot (between toes and arch). Place your plant foot close and push the ball forward smoothly. Use minimal backswing. This is about control, not power.
Game Use: Perfect for placing the ball past a keeper when cutting in from the right flank.
Curling Shot: Bend It Like a Pro
Want to curve the ball around a defender or keeper? Use inside-foot curl.
Strike the right side of the ball with the inside of your left foot. Contact point should be off-center, near the edge. Follow through across your body to generate spin. The result is a right-to-left curve (in-swinging) toward the far post.
Real-World Example: Right wingers like Mohamed Salah use this to devastating effect when cutting inside.
Chip Shot: Finesse Over Force
When the keeper rushes out, lift the ball over them with a delicate chip.
Use your inside or instep with a quick, upward motion. Contact underneath the ball. Use less leg swing and more wrist-like flick from the ankle.
Timing is Everything: Practice this at close range first.
One-Touch Shot: React in Game Speed
No time to set up? Strike it first time.
Use minimal backswing. Focus on timing and balance. This requires confidence in your left foot is contact point.
Training Tip: Practice with a partner feeding rapid passes. Force yourself to shoot immediately.
Fix Common Left-Foot Mistakes

Why Your Shot Lacks Power
The cause is weak plant leg, poor hip rotation, or incorrect knee bend.
Strengthen your right-foot balance by standing on it daily for 30 or more seconds. Rotate your hips and shoulders through the shot. Do not just swing your leg. Bend the kicking knee more during backswing for greater force.
Why You Keep Missing the Target
The cause is open or closed foot angle at impact.
Point your toes down and lock your ankle. Align your foot with your target before shooting. Use mirror drills to check form symmetry.
Why It Feels Awkward
The cause is overthinking or inconsistent technique.
Slow down. Practice in slow motion to ingrain correct form. Use mirror drills to compare left versus right foot mechanics. Avoid breaking down steps mid-action. Build fluidity instead.
Why You Toe-Poke the Ball
The cause is lack of ankle stability.
Practice inside-of-foot passes first. They are easier to control. Strengthen ankle lock through repetition and awareness. Use padded striking drills to focus on technique without chasing the ball.
Build Muscle Memory with Targeted Drills
Wall Repetition Drill: Daily Practice
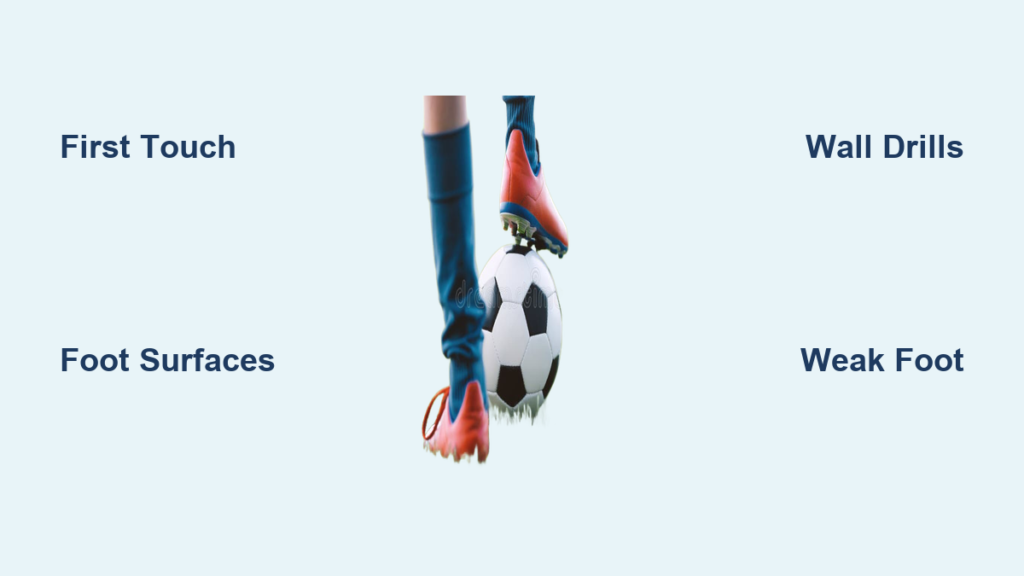
Stand 2 to 3 meters from a wall. Kick with your left foot and let the ball rebound. Trap with your left foot and shoot again. Start close and increase distance as control improves.
Goal: 10 to 20 minutes daily. Builds touch, control, and confidence.
Padded Striking Drill: Power Without Chasing
Place a pillow, bean bag, or padded chair against a wall. Put the ball 30 to 60 cm in front. Strike firmly with the laces of your left foot, driving into the padding. Focus on plant foot, knee bend, and follow-through.
Benefit: Full-force reps without losing the ball. Repeat 20 to 50 times per session.
Mirror Form Drill: Fix Technique Visually
Stand in front of a full-length mirror. Simulate a shot with your right (strong) foot and observe posture, alignment, and follow-through. Repeat with your left foot, aiming to mirror the exact form. Check head position, plant foot, arm swing, and follow-through.
Why It Works: Visual feedback reveals imbalances you cannot feel.
Stationary One-Touch Shooting: No Run-Up
Stand on your right foot. Place the ball beside it. Kick with your left foot using short, controlled motion. No approach run. Just clean contact.
Purpose: Builds balance and confidence in static shooting.
Balance Training: Strengthen the Plant Leg
Stand on your right foot for 30 to 60 seconds daily. Progress to eyes closed or foam pad for instability. Add light kicks or taps with your left foot.
Why: A shaky plant leg kills power and accuracy. This fixes it.
Video Feedback: See What You Are Missing
Record yourself shooting with your left foot from multiple angles. Compare to right-foot shots. Analyze plant foot placement, ankle lock, follow-through direction, and body lean.
Pro Tip: Share clips with a coach or experienced player for feedback.
Train Like a Pro: 45-Minute Left-Foot Session
Dribbling (10 Minutes)
Set up zig-zag cones over 20 to 30 yards. Dribble only with your left foot. Focus on close control, quick turns, and acceleration. Perform 4 to 6 reps with 30 to 60 seconds rest.
Purpose: Builds touch and confidence under movement.
Passing and First Touch (10 Minutes)
With a partner 7 to 10 yards away, receive and return all passes with your left foot. Mix grounded and bouncing balls. Complete sets of 45 to 60 seconds, rest 60 seconds, repeat 4 to 5 times.
Solo Option: Use a wall. Throw, control, and return with your left foot.
Juggling (5 Minutes)
Juggle exclusively with your left foot. If too hard, toss the ball up, control it, and kick it back. Goal is 10 to 20 consecutive touches.
Why: Sharpens aerial control and coordination.
Shooting Focus (15 Minutes)
Choose from power shots (instep) from 20 yards, curling shots (inside foot) from the right side, low-driven shots at near or far post, or chip shots from close range. Complete 10 to 15 left-footed shots per set. Emphasize technique first, power second.
Freestyle Dribbling (5 Minutes)
Freely dribble with your left foot. Add step-overs, scissors, and pull-backs. Finish with a left-footed burst or shot. Use your right foot only to set up.
Purpose: Builds creativity and game realism.
Game-Realistic Drill: Two-Footed Reaction Shooting
Setup
Area is 40 by 30 yards with goals at both ends. You need a shooter, server, and goalkeeper. Have multiple balls ready for quick play.
Execution
The shooter passes long to the server, then sprints forward. The server returns the pass to the right side. The shooter receives and shoots with the left foot. Immediately run to the opposite side. Receive a second pass on the left side and shoot with the right foot. Rotate roles.
Coaching Points: Shoot on the move. No over-dribbling. Vary pass height and speed. Every player gets repeated left-footed reps.
Why It Works: Simulates real-game pressure and decision-making.
Develop Ambidexterity for Tactical Advantage
Why the Left Foot Wins Games
It forces defenders to hesitate. They cannot predict your move. It allows immediate shots from the right flank. It creates goalkeeper blind spots. Many keepers are less comfortable with left-footed curlers. It is rare and disruptive. Only 10 to 15 percent of players are left-footed.
Tactical Insight: Defenders often overcommit expecting right-footed play. A left-footed shot or cross breaks their rhythm.
Use Cases for Left-Footed Shooting
| Scenario | Left-Foot Solution |
|---|---|
| Right winger cutting in | Inside-foot curl to far post |
| Midfielder from 25 yards | Instep power shot |
| Striker in 1v1 | Low-driven or chipped finish |
| Defender under pressure | Left-footed clearance or pass |
| Youth development (U12 to U16) | Build ambidexterity early |
Track Progress and Stay Consistent
Weekly Goals
Achieve 200 or more left-footed actions (shots, passes, touches). Hit 7 out of 10 shots on target from 20 yards. Increase left-foot juggling from 5 to 20 or more touches.
Maintenance Plan
Daily: 5 to 10 minutes of wall drills or juggling. Weekly: 2 to 3 full left-foot sessions. Monthly: Record video to track form improvements.
Warning: Skills fade without use. Practice consistently, even during off-season.
Final Checklist: Shoot Like a Pro
Ankle locked and toes pointed down. Plant foot 10 to 15 cm from ball, aligned with target. Head over ball at contact. Hips and shoulders rotate through shot. Follow through toward target. Strike with inside foot for control or laces for power. Practice daily using wall, mirror, or video. Balance on right foot. Train it like a pro. Stay patient. Expect 3 to 6 weeks for noticeable improvement. Reframe your mindset. Left foot is a weapon, not a weakness.
Frequently Asked Questions About Left-Foot Shooting
How Long Does It Take to Develop a Strong Left Foot?
Most players see noticeable improvement within 3 to 6 weeks with consistent daily practice. The key is repetition. Aim for 200 or more left-footed actions per week to build neural pathways.
Can Right-Foot-Dominant Players Actually Become Proficient with Their Left Foot?
Absolutely. The biomechanics are identical. The challenge is purely neural. With dedicated left-foot-only sessions, right-foot-dominant players can develop near-equal capability. Elite players like Mohamed Salah demonstrate that ambidexterity is trainable.
What Is the Most Important Technical Element for Left-Foot Power?
Ankle lock is the foundation. Point your toes down and lock your ankle firmly before contact. Without this, you will toe-poke the ball and lose significant power. The plant foot placement and hip rotation complete the kinetic chain.
Should I Practice Left Foot Before or After My Regular Training?
Practice left-foot drills at the end of regular training sessions. This simulates fatigue and builds competence under pressure. It also prevents you from compensating with your strong foot when tired.
How Many Reps Should I Do Each Day?
Start with 20 to 50 strikes per session using padded drills or wall work. Progress to 100 or more as technique improves. Quality matters more than quantity. Focus on clean contact and proper form over power initially.
Key Takeaways for Mastering Left-Foot Shooting
Mastering how to shoot a soccer ball with your left foot is not about talent. It is about repetition, technique, and belief. The ball does not know which foot is your weak one. It only responds to clean contact, proper alignment, and intent.
Start small. Focus on form before power. Lock your ankle, place your plant foot correctly, and follow through toward your target. Practice daily, even if just for 10 minutes. Use wall drills, mirror drills, and video feedback to accelerate improvement.
Within weeks, your left foot will not just be functional. It will be a weapon. The next time you are on the right wing, do not cut inside. Shoot first. Let the keeper react. Your left foot is ready.