Curving a soccer ball can feel like magic. Watching it bend around defenders or curl into the top corner is one of the most thrilling skills in the game. For beginners, this technique might seem out of reach, but with the right approach, anyone can learn how to curve a soccer ball. The secret lies not in raw power, but in precision, spin, and proper mechanics.
In this guide, you’ll learn the step-by-step technique, avoid common mistakes, practice effective drills, and build the confidence to curl shots and passes like the pros. Whether you’re taking free kicks, crossing from the wing, or cutting in for a shot, these fundamentals will help you bend the ball with consistency and control, starting today.
Master the Inside Foot Curl

The inside foot curl is the best starting point for beginners. It offers more control, accuracy, and a natural sweeping motion that generates clean spin.
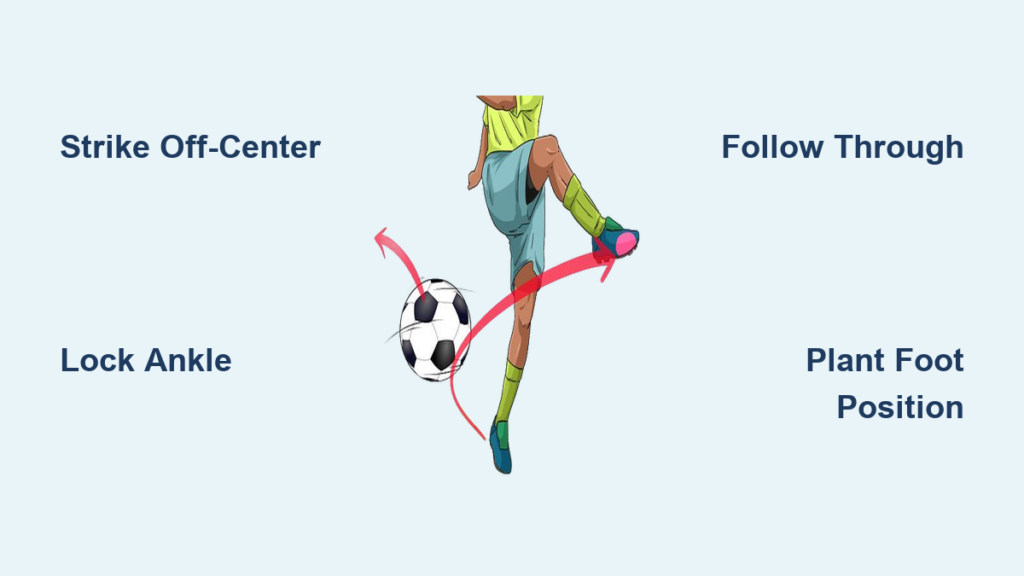
Strike the Lower Off-Center Zone
To create curve, you must hit the ball off-center, just below the midpoint.
• Right-footed players: Aim for the lower right quadrant
• Left-footed players: Target the lower left quadrant
This contact point creates side spin combined with lift, making the ball rise and bend inward. Striking too high produces a driven shot with little curve. Hitting the center sends it straight.
Use the inside of your foot, specifically the area between the big toe and arch. This is your sweet spot for control and spin.
Lock Your Ankle and Point Toes Up
A loose ankle kills spin and consistency. Before contact, lock your ankle rigidly and point your toes upward. This creates a firm, flat striking surface that snaps cleanly through the ball. If your toes drop, you’ll scoop the ball, causing it to balloon or float unpredictably.
Follow Through Across Your Body
After impact, swing your leg in a circular arc across your body. Finish with your kicking foot near your opposite hip. Allow your hips and shoulders to rotate naturally toward the target.
This sweeping motion increases spin and guides the ball’s curve. A short or straight follow-through reduces bend.
Pro Tip: Imagine drawing a C shape in the air with your foot. The longer the arc, the more spin you generate.
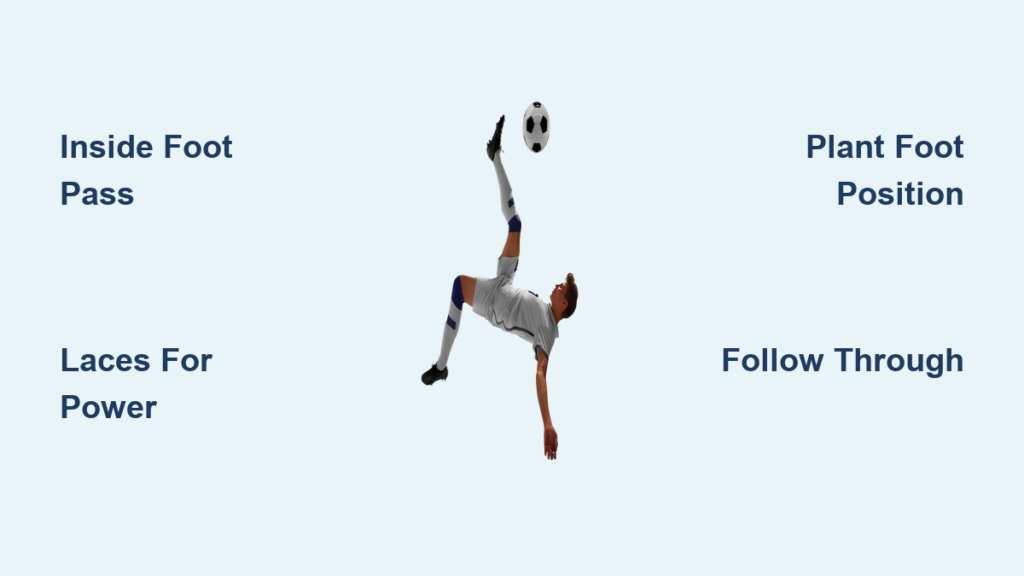
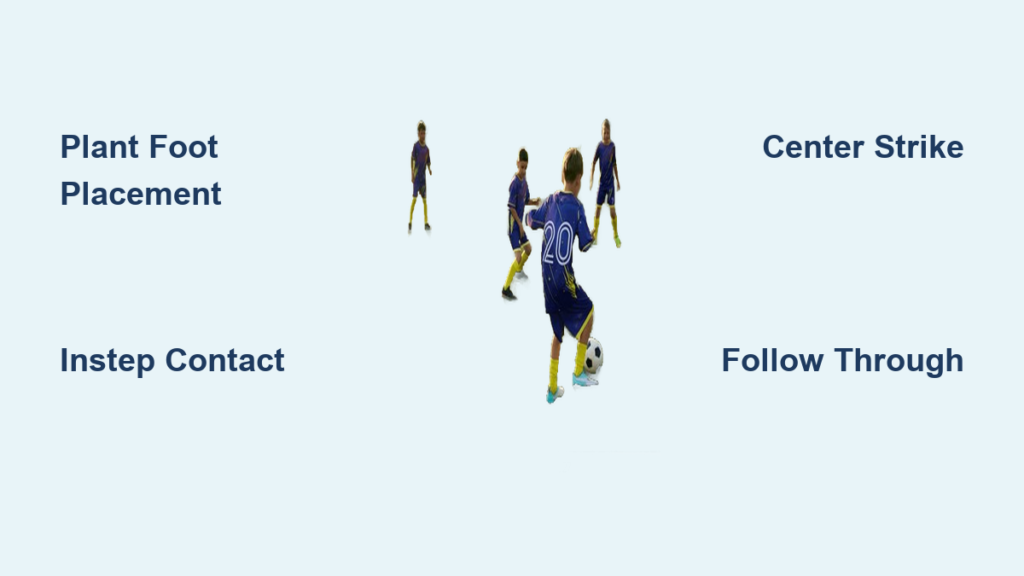
Set Up with Proper Plant Foot Position
Your plant foot is the foundation of a successful curl. It controls balance, direction, and body alignment.
Place Plant Foot 6–10 Inches Beside the Ball
Position your non-kicking foot 6–10 inches to the side of the ball. Align your ankle bone with the ball’s center or slightly behind.
Too close limits your swing. Too far forces you to lunge and lose balance.
Point Toes Toward or Slightly Away From Target
For inward curl, point your plant foot slightly away from the target. This opens your hips and allows your kicking leg to swing across your body more freely.
Keep your knee slightly bent for stability and balance.
Use the Right Run-Up Angle

Your approach determines how effectively you can generate spin.
Approach at 30° to 45°
Start your run-up from a 30° to 45° angle relative to your target. This angled start allows your body to rotate and your leg to wrap around the ball.
Avoid a straight-on approach. It’s great for power shots but limits curve potential.
Take 3–4 Controlled Steps
Begin with short, controlled steps. Make your final step the longest, almost like a lunge into the ball.
This builds momentum while maintaining balance. Rushing or overstriding leads to poor contact.
Lean Forward for Better Trajectory
Body lean affects flight path and spin efficiency.
Keep Chest Over the Ball
Lean your upper body slightly forward at impact. This prevents backspin, helps the ball rise naturally without floating, and keeps your center of gravity over the strike zone.
Leaning back causes the ball to lift too high and lose curve. This is common when beginners reach for the ball.
Practice the Outside Foot Trivela Curl
Once comfortable with the inside foot, try the outside foot curl. This is a flashy, advanced move that curves the ball in the opposite direction.
Brush the Ball with the Outside Edge
Use the outside of your foot, near the little toe. Strike the inner side of the ball with a quick, brushing motion. Follow through outward and across your body.
This creates outward curve, ideal for surprise passes or out-swinging crosses.
Engage Hip Rotation
The outside curl requires strong hip rotation for power and spin. Rotate your hips aggressively through the kick. Let your upper body turn naturally to add torque.
Beginner Hack: Start with short, soft touches to feel the motion before adding power.
Fix Common Curving Mistakes

Even small errors can ruin your curve. Here’s how to fix the most frequent issues.
Ball Floats Too High
Cause: Toes down or leaning back creates backspin.
Fix: Lock your ankle, point toes up, and lean chest over the ball.
No Curve Generated
Cause: Hitting center of ball or using a straight run-up.
Fix: Approach at 45°, strike off-center, and swing your leg across your body.
Loss of Balance
Cause: Poor plant foot placement or stiff posture.
Fix: Place plant foot 6–10 inches away, bend knee slightly, and extend opposite arm for counterbalance.
Weak or Inconsistent Curve
Cause: Loose ankle or slow swing.
Fix: Strengthen ankle lock, increase swing speed, and focus on hip rotation.
Warning: Do not try to kick too hard at first. Spin beats power when curving the ball.
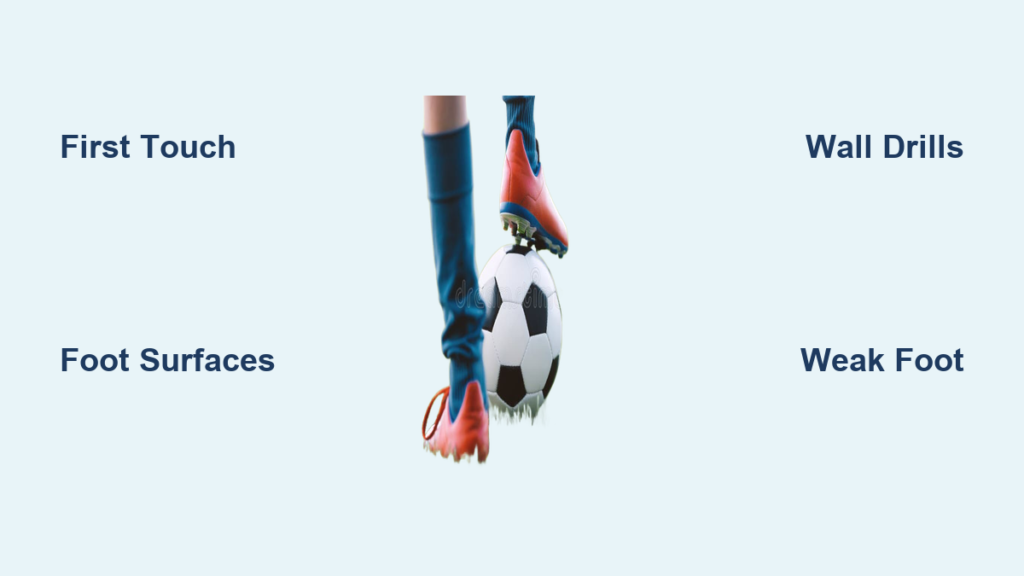
Train with Effective Drills
Repetition builds muscle memory. Use these drills to improve fast.
Wall Repetition Drill
Stand 10–15 feet from a wall. Curl the ball at the wall using your inside foot. Aim for consistent bounce return. Perform 20–30 reps per session.
This works because you get immediate feedback, no chasing balls, and it builds touch.
Target Practice
Place cones or tape targets in a goal. Curl shots from 10–25 yards. Aim for corners or post markers. Start close, then increase distance.
Pro Tip: Use a pink soccer ball for high visibility during solo practice.
Slow-Motion Breakdown
Practice each phase slowly: approach, plant, swing, contact, follow-through. Repeat in slow motion to lock in correct form.
This builds neuromuscular memory before adding speed.
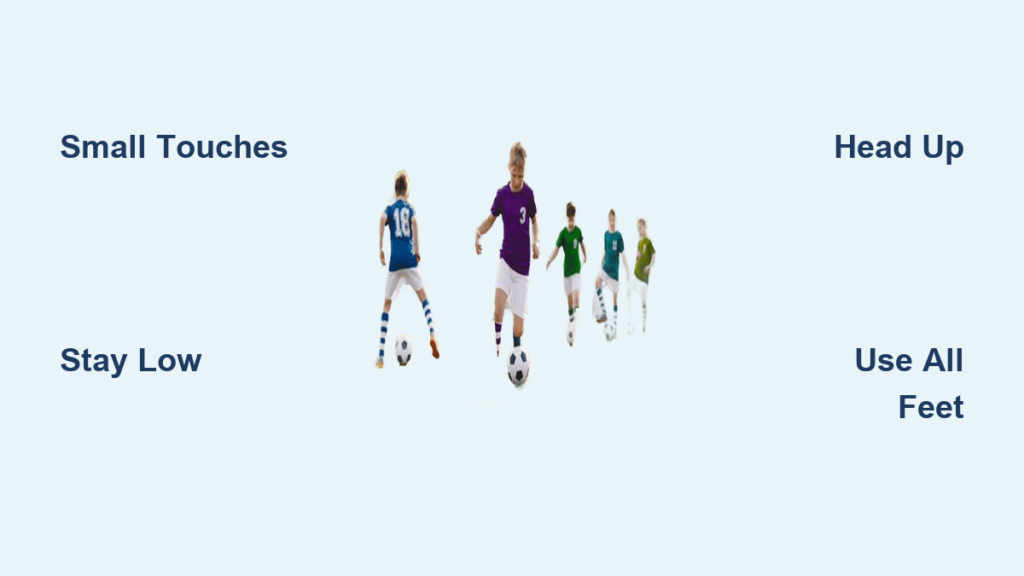
Cone Dribble Plus Curved Shot
Set up zig-zag cones 15–20 yards from goal. Dribble through cones, then finish with a curled shot.
This benefit simulates game pressure and improves transition from dribble to shot.
One-Touch Curving with Partner
Pass back and forth using only curved one-touch kicks. Force quick, precise contact.
This improves touch, timing, and control under pressure.
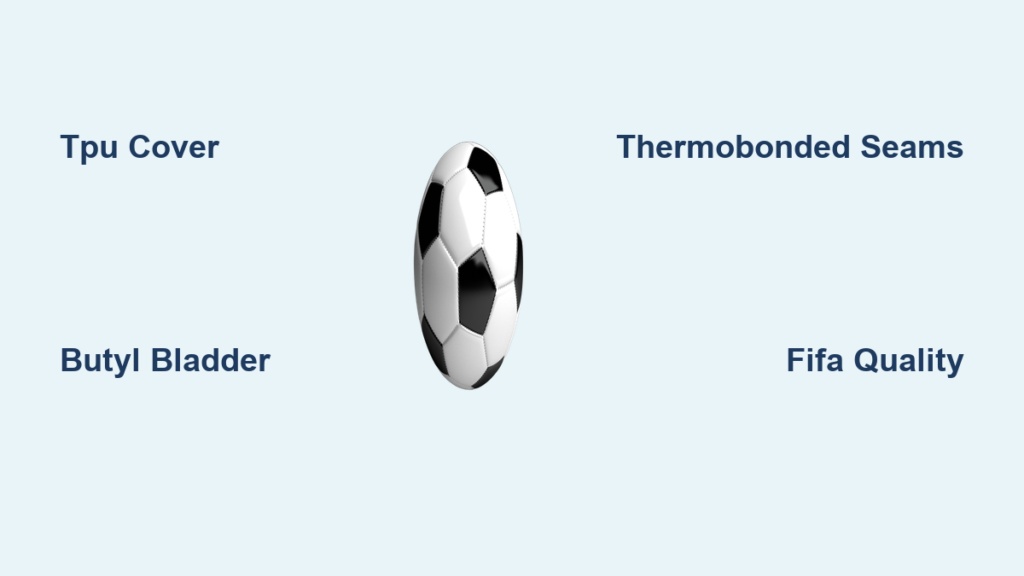
Use the Right Equipment
The right gear makes learning easier.
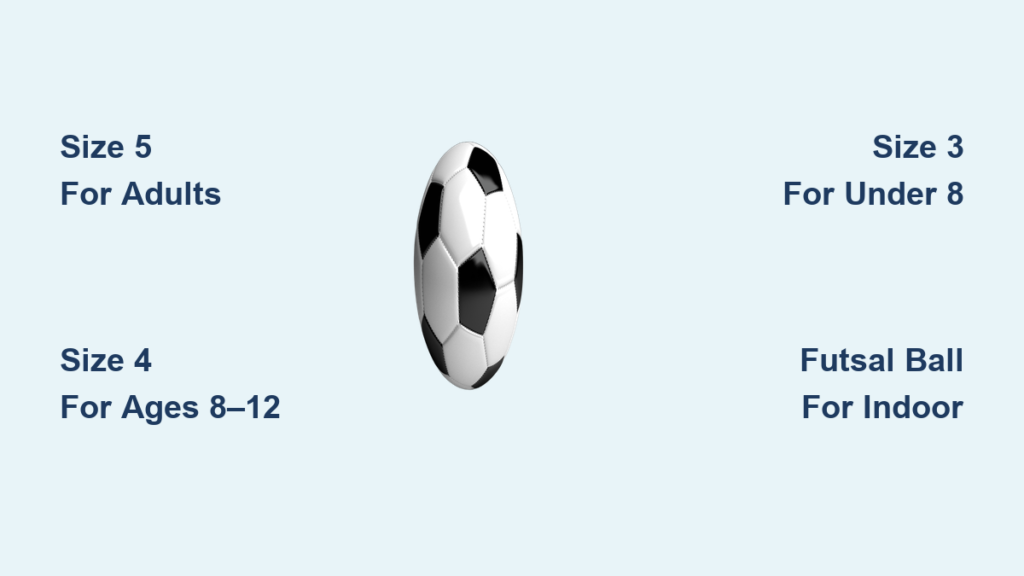
Choose a Size 5 Ball
Standard size for players 12 and older. It behaves like match balls with realistic flight and bounce. Use it for outdoor practice.
Try a Futsal Ball for Control
Futsal balls are heavier and less bouncy. They are great for indoor drills and build foot strength and precision.
Keep Ball Properly Inflated
Use a soccer ball pump to maintain 8.5–15.6 psi. An under-inflated ball deforms on impact, reducing spin and consistency.
Wear Grippy Cleats
Use firm-ground or artificial turf cleats. Good traction prevents slipping during angled approaches and sweeping motions.
Study the Pros for Inspiration
Learn by watching the best.
David Beckham: The Master of the Curl
His signature is the right-footed outside-in curl from distance. His key trait is long, flowing run-up and full follow-through. Watch his 2002 World Cup qualifier goal versus Greece.
Cristiano Ronaldo: Power and Swerve
He uses minimal backlift and generates explosive spin with hip drive. He often combines curve with dip.
Lionel Messi: Low, Driven Curves
He stays close to the ground and uses inside of foot for precision. He curves balls through defenders and finishes close range.
Action Step: Watch slow-motion highlights on YouTube. Pause and mimic their form.
Build the Right Mindset
Success starts in your head.
Embrace the Learning Curve
Doubt is normal. Even pros missed thousands of curls before mastering them. Focus on progress, not perfection. Celebrate small wins: more spin, better accuracy, cleaner contact.
Visualize Before Kicking
Before each shot, close your eyes for a second. See the ball’s path, the arc, the curve, the target. Then execute.
Visualization trains your brain to guide your body.
Practice with Purpose
Twenty to thirty focused kicks per session beat mindless blasting. Record yourself weekly. Compare form: plant foot, ankle lock, follow-through.
Greatness is attainable. Focus on the process, and results will follow.
Apply Curves in Real Game Situations
Use your new skill strategically.
Free Kicks: Curve Over the Wall
Approach at 45° to 90°. Strike lower off-center. Lean forward, follow through fully. Aim to dip the ball under the crossbar.
In-Swinging Crosses
Curl the ball toward the goal from the wing. Use inside of foot. Aim for the near post or back post run.
Cut-In Shots
When approaching at an angle, curl shot to far post. Use inside-lace sweet spot. Keep ball low and bending.
Curved Passes
Arc passes around defenders. Use moderate force and clean contact. This is great for switching play or threading through lines.
Remember: Do not curve every pass or shot. Use it when it gives you an advantage, not just because you can.
Track Progress and Stay Consistent
Mastery takes time, but you will see results fast with consistency.
How Long to Learn
Noticeable improvement comes in 3–6 weeks with daily practice. Solid control takes 2–3 months. Game-ready curl develops in 4–6 months.
Weekly Practice Plan for Beginners
Day one: Wall reps plus target practice. Focus on form and consistency.
Day two: Slow-motion breakdown plus video review. Focus on technique.
Day three: Cone dribble plus curl shot. Focus on game simulation.
Day four: Partner one-touch curving. Focus on touch and timing.
Revisit the summary checklist every week to stay on track.
Frequently Asked Questions About Curving a Soccer Ball
How can I practice curving the ball alone?
Use wall target practice, cone drills, or the Becks test via statUP app. Repetition with focused intent builds muscle memory. Use a pink soccer ball for consistent solo training.
Does the type of soccer ball affect curving ability?
Yes. Lighter balls curve more easily. Heavier balls like futsal balls require more force. A properly inflated ball ensures predictable behavior. Use blue soccer balls for outdoor visibility.
How long does it take to master curving the ball?
With focused daily practice, noticeable improvement occurs within 3–6 weeks. Full mastery may take several months, depending on frequency and quality of training.
Should I curve the ball in every shot?
No. Use curvature strategically when bypassing walls, deceiving goalkeepers, or threading passes. Straight shots are often faster and more accurate for close-range finishes.
What is the Magnus Effect?
The Magnus Effect is the aerodynamic principle behind ball curving. When you strike the ball off-center, one side spins with the airflow while the other spins against it. This creates pressure differences that push the ball sideways, causing it to curve.
Which foot is better for curving?
Both feet can curve effectively. The technique is the same regardless of dominant foot. Practice with both to become a more complete player.
Key Takeaways for Curving a Soccer Ball
Learning how to curve a soccer ball is more than a trick. It is a game-changing skill that adds creativity, unpredictability, and confidence to your play. By mastering the inside foot curl, perfecting your plant foot and follow-through, and drilling consistently, you will bend the ball with control and flair.
Start small. Focus on form. Repeat with purpose. Soon, you will be curling shots that leave defenders and goalkeepers stunned. The key is to approach at 30° to 45°, strike the lower off-center quadrant, lock your ankle, and follow through across your body in a circular arc. Practice daily, stay patient, and watch your curve develop.