Imagine a sleek wooden mini basketball hoop mounted in your living room, office, or child’s playroom—functional, stylish, and built by you. Making a mini basketball hoop out of wood is a rewarding DIY project that blends craftsmanship with play. Whether you’re crafting a rustic wall-mounted piece or a freestanding desktop model, this guide covers every step to build a durable, wobble-free hoop using accessible materials and tools.
Using real construction data from proven builds, you’ll learn how to choose the right wood, attach a stable rim, and finish with a polished look. You’ll avoid common failures like flimsy rims or paint bleed and create a hoop that’s both a game piece and a statement piece.
Choose Your Wood Type and Design
Your wood choice defines the hoop’s look and durability. Three main options suit mini hoops perfectly.
Pick a Backboard Material Based on Style
Selecting the right material transforms your hoop from a simple project to a statement piece.
- Laminated 1x4s create a rustic look. Glue six 1×4 planks edge-to-edge for a thick, solid backboard. This approach works beautifully for farmhouse or man-cave aesthetics.
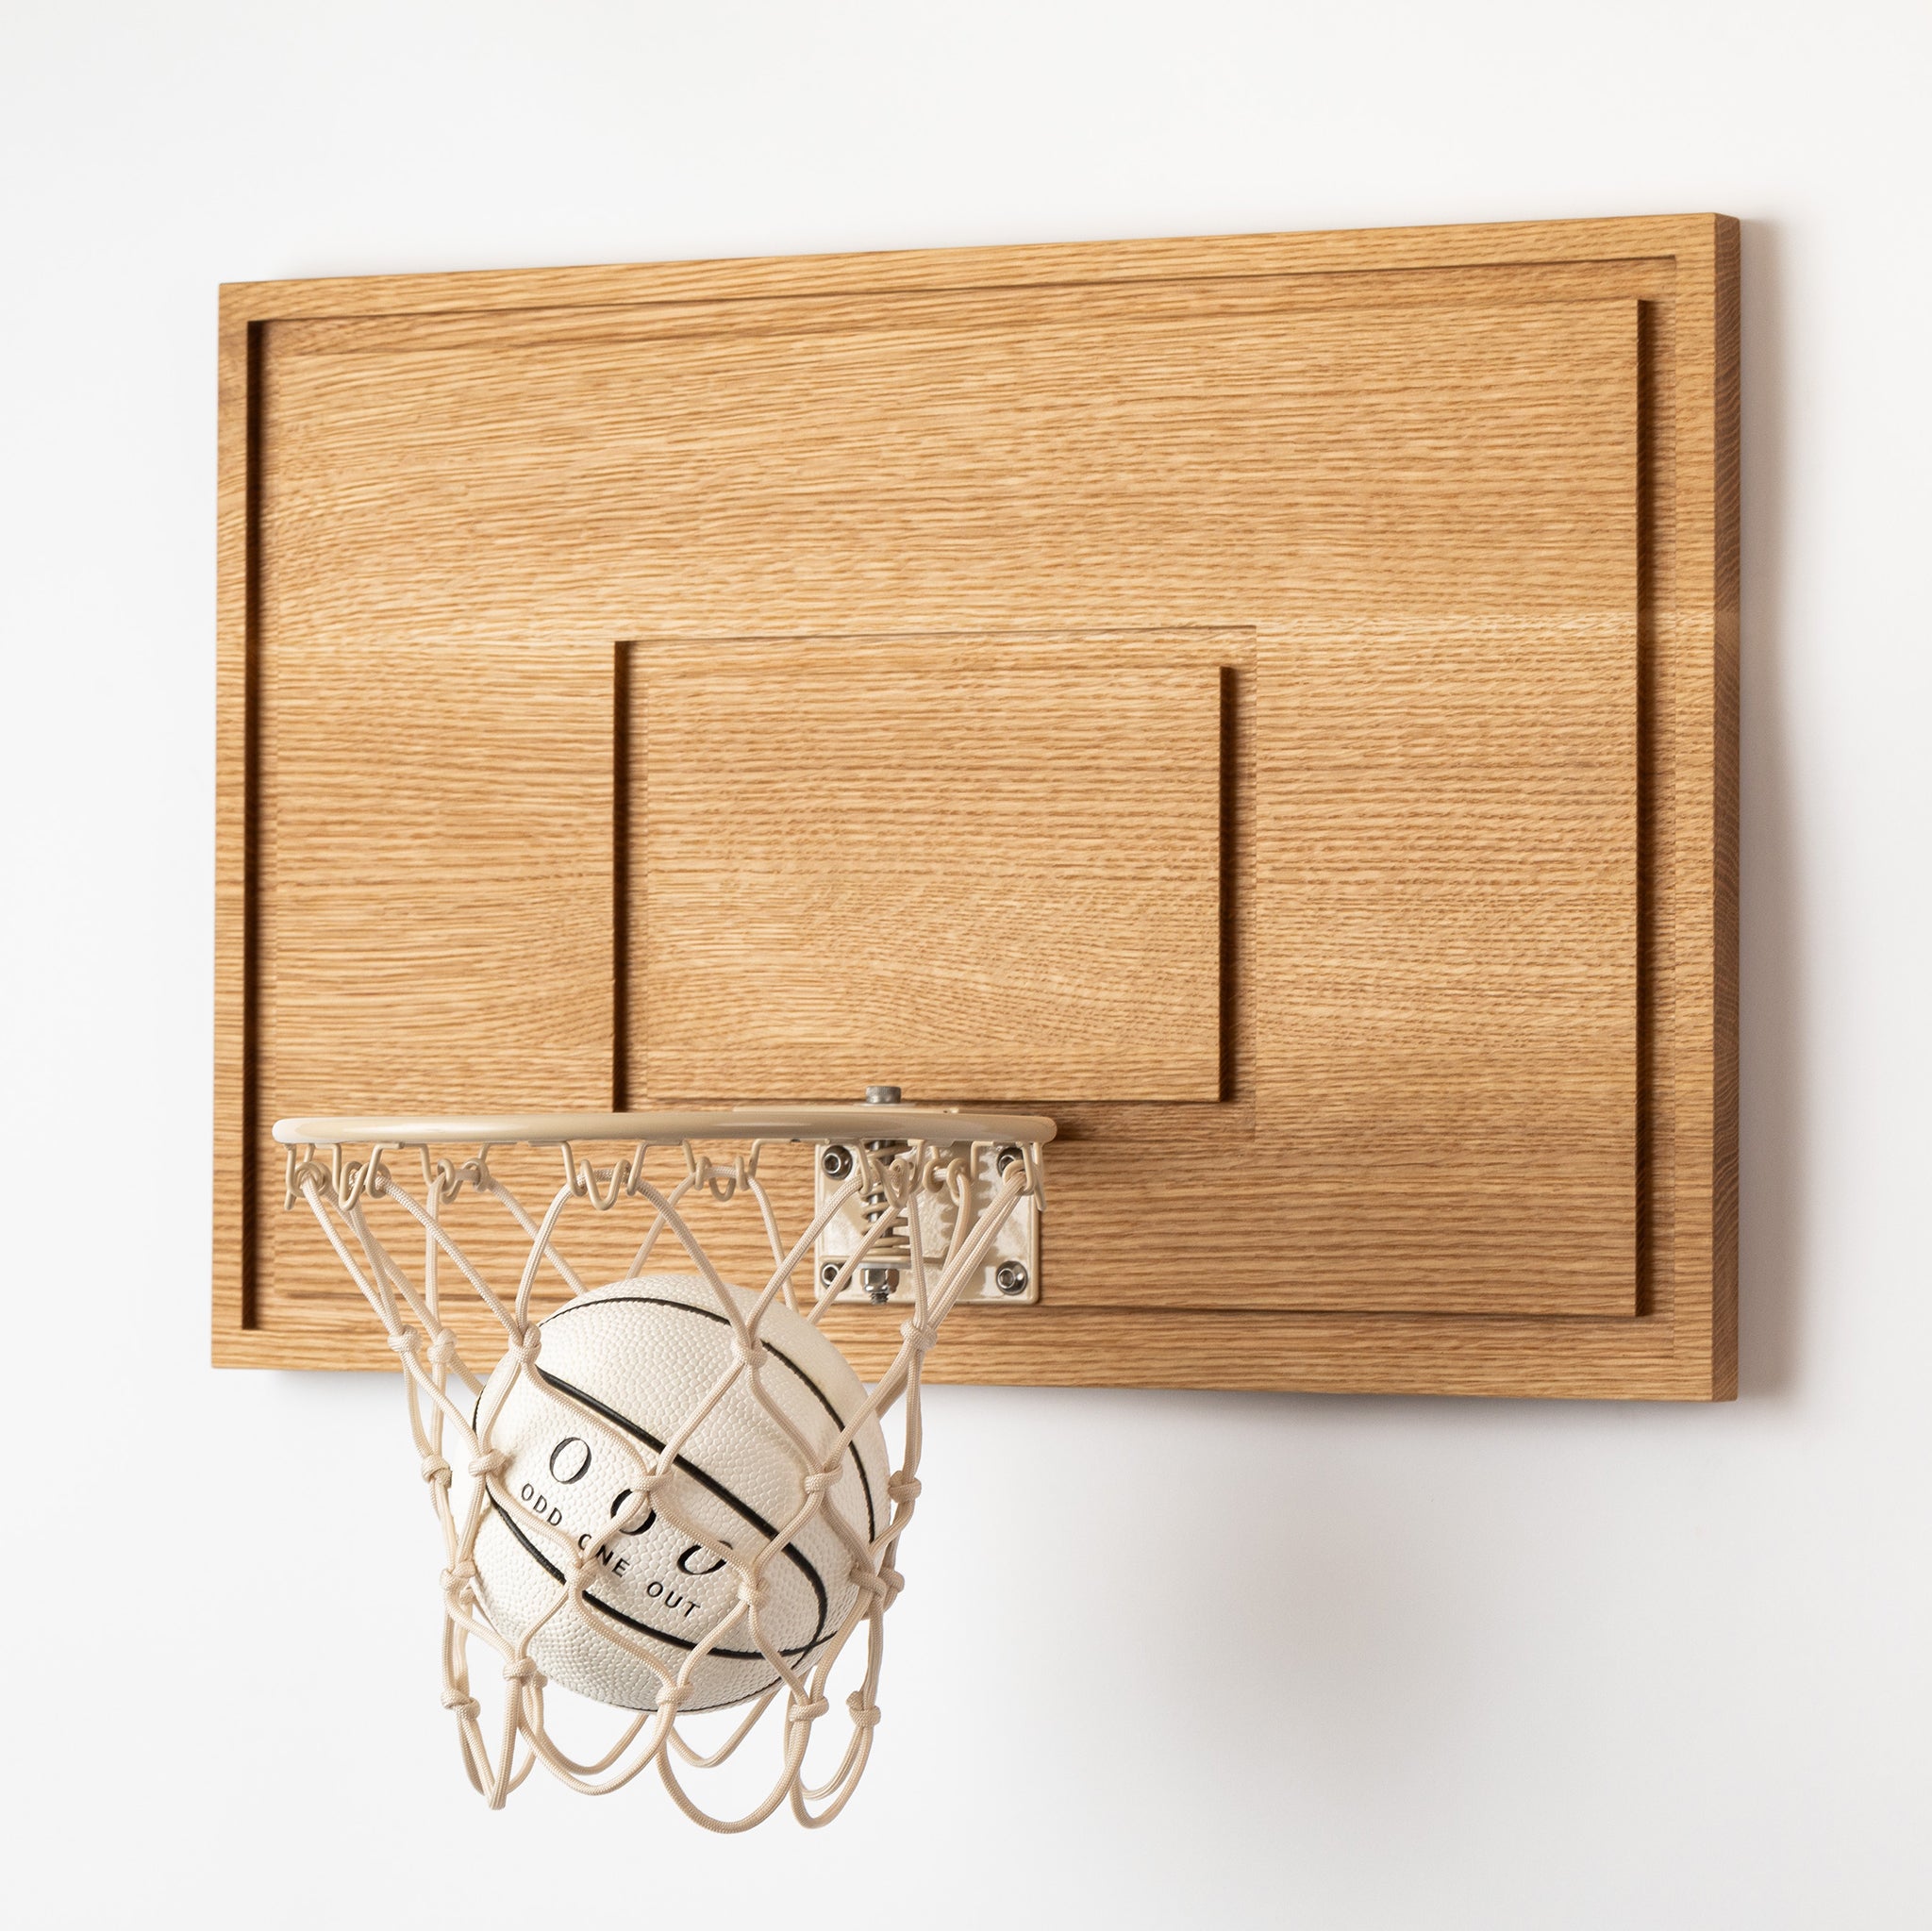
- White oak plywood provides a designer finish. Use 16″x24″ or 12″x12″ sheets for a smooth, modern surface that takes stain beautifully and fits contemporary spaces.
- A single pine board offers budget-friendly simplicity. A plain 12″x12″ board works well for classrooms or kids’ rooms. It’s easy to cut and paint.
Match your pick to the space. Rustic planks suit character-filled rooms, plywood fits elegant interiors, and solid pine works for simple setups.
Decide Between Wall-Mounted or Freestanding
Choosing your mounting style affects stability and placement options.
- Wall-mounted hoops attach directly to drywall or studs. This approach saves floor space and works best for permanent setups in playrooms or offices.
- Freestanding models use a pole and weighted base. This option provides portability and works great for desks or temporary setups. You’ll need ballast like sand, water, or concrete to prevent tipping.
Choose wall-mounted for maximum stability, freestanding for flexibility and mobility.
Cut and Shape the Backboard
Cutting and shaping the backboard requires precision to ensure proper fit and function.
Measure and Cut to Size
Accurate measurements prevent wasted materials and ensure a professional result.
- Standard mini size: 12″x12″
- Larger indoor model: 16″x24″
- Rustic thick plank: 36 inches long from 1x4s
Use a tape measure and pencil to mark your board. Cut with a hand saw or power saw. Ensure edges are straight and corners are square. Double-check all dimensions before making final cuts.
Sand for Smoothness and Safety
Proper sanding prevents splinters and ensures clean paint lines later.
Start with 120-grit sandpaper to remove rough spots and splinters. Then switch to 220-grit for a polished finish. Sand all surfaces and edges thoroughly. This step is especially important if kids will use the hoop. A smooth backboard prevents scrapes and ensures professional-looking paint lines.
Apply Finish and Paint Details
Finishing transforms raw wood into a durable, attractive piece.
Stain for a Rich Wood Tone
Applying stain enhances grain and adds color depth.
- American Walnut creates a deep, warm tone perfect for rustic planks.
- Early American provides a classic, slightly grayed brown for vintage looks.
- Natural offers a light finish that preserves the wood grain.
Apply wood stain with a brush or rag for even coverage. Let it dry 4-6 hours. Apply a second coat if you desire a deeper color.
Paint the Target Square Cleanly
Creating a crisp target square requires the right technique and materials.
Use painter’s tape, specifically Frog Tape recommended for zero bleed-through. Measure and mark a 10.5″x9.5″ rectangle centered on the board. Tape off the area with a 1-inch border. Apply white paint in thin layers. Let the first coat dry completely before adding a second. Remove the tape while the paint is slightly tacky to avoid peeling.
This technique creates a professional-style target square with no bleed-through.
Frame the Edges for a Finished Look
Adding a frame elevates the overall appearance significantly.
Add a Solid Trim Border
A trim border adds professionalism to your finished hoop.
Cut four pieces of 1.5-inch oak trim to match your board edges. Stain the trim to match the backboard. Attach with wood glue and a nail gun using simple butt joints. For a premium look, cut corners at 45 degrees and miter the joints instead.
Reinforce Thick Backboards
Laminated backboards need additional support to prevent warping.
Attach four support beams to the back of the board. Place one at each corner and two spaced evenly in the center. Use 2-inch galvanized screws. This reinforcement prevents warping and adds rigidity to the structure.
Seal for Maximum Durability
Sealing protects your investment from wear and moisture damage.
Apply Protective Topcoat
A topcoat shields against scratches, moisture, and daily use.
Seal the wood with two coats of clear polyacrylic. Use a brush or foam applicator for even coverage. Let the first coat dry 2-4 hours. Lightly sand with 220-grit between coats. Apply the second coat for complete protection. This step is especially important in high-use areas.
Alternative: Shellac for Subtle Shine
Shellac offers a lighter alternative for indoor-only hoops.
Use one coat of shellac for a lighter finish. It dries quickly and enhances the grain without heavy buildup. This approach works best for hoops that will stay indoors.
Attach the Rim Securely
The rim attachment is the most critical step for long-term durability.
Never Use a DIY Wooden Rim
Homemade wooden T-brackets or chandelier rings fail under pressure. They wobble violently or snap instantly during play. Always use a pre-made metal rim from a mini basketball hoop kit. This single decision determines whether your hoop lasts months or years.
Use Bolts, Not Just Glue or Screws
Proper hardware creates a wobble-free connection that lasts.
Drill matching holes through the backboard where the rim mounts. Position the rim and mark screw points. Use a drill bit sized to match the rim’s hardware. Insert bolts from the front, add washers and nuts on the back. Tighten fully. This “Paul’s Fix” method ensures the rim withstands repeated use without wobbling.
Alternative: PVC Pipe Support for Freestanding Models
Pole-mounted hoops require a different mounting approach.
Drill a 1/2-inch hole in the center of the backboard. Insert 1/2-inch PVC pipe through the hole. Secure the pipe to the back with glue or brackets. Slide a 10-inch metal rim onto the pipe. Fasten from below with a washer and nut. Keep the rim level and flush with the board.
Build the Base and Pole

Freestanding models need a stable foundation to function properly.
Select Pole Material
Your pole choice affects both stability and appearance.
- 1-inch PVC pipe works well at 18 inches long for mini models. It’s lightweight and easy to work with.
- Wooden dowels offer a 3/4-inch thickness and 12-inch length. They provide sturdiness and blend with the wood design.
Cut to your desired height. Usually 18-24 inches works well for desk use.
Mount the Pole to the Base
Secure attachment prevents wobbling during play.
Cut a base board approximately 8″x10″. Mark the center and drill a hole snug for the pole. Insert the pole, apply wood glue, and let it dry for at least 2 hours. Reinforce with screws if needed. Use a level during setup to ensure the pole stands straight.
Add Ballast for Stability
Weight prevents tipping during active play.
- Fill a hollow PVC pole with sand or water for simple ballast.
- Place a concrete block or sandbag inside a hollow base.
- Use a wide, heavy base board with a minimum of 10 inches width.
A low center of gravity keeps the hoop upright during play. This step is essential for freestanding models.
Final Touches and Setup
Completing the project requires attention to mounting and testing.
Install the Basketball Net
A net completes the functional design.
Attach a standard mini basketball net to the rim. Most kits include a net. If yours doesn’t, buy one that fits a 10-inch rim. Loop the strings through the rim’s attachment points and secure them firmly.
Mount to Wall for Permanent Installation
Wall-mounted models require proper anchoring.
Locate studs using a stud finder. Hold the backboard in place and mark screw holes. Pre-drill holes in the wood. Use heavy-duty wall anchors or lag screws to secure. Use a level to ensure the hoop is perfectly straight. Double-check stability before allowing any use.
Test for Stability and Function
Testing reveals any issues before regular use.
Apply gentle pressure to the rim with your hand. A well-built hoop shows zero wobble. If it moves, tighten rim bolts, add more ballast to the base, or reinforce the pole-to-base joint. Also check for smooth ball rebound and secure net attachment.
Prevent Common Failures

Understanding potential problems helps you avoid them.
Avoid Rim Wobble and Breakage
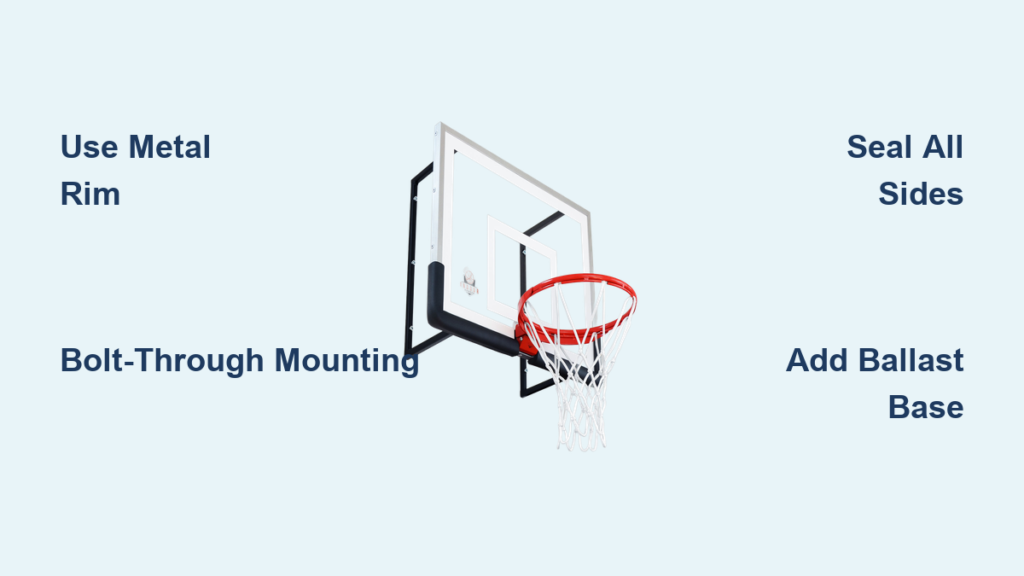
The cause is using glued wooden supports or repurposed rings. The fix is using a metal rim with bolt-through mounting. Screws or glue alone won’t hold up to regular use.
Stop Paint Bleeding on Target Square
The cause is low-quality tape or thick paint layers. The fix is using Frog Tape, applying thin paint coats, and peeling tape while the paint is slightly tacky.
Prevent Tipping on Freestanding Models
The cause is a light base or high center of gravity. The fix is adding sand, water, or concrete to the base and using a wide, low-profile design.
Stop Wood Warping
The cause is untreated wood exposed to moisture. The fix is sealing all sides with polyacrylic and using exterior-grade wood if used near windows or outdoors.
Maintain Your Wooden Hoop
Regular maintenance extends the life of your creation.
Clean With Care
Wipe with a dry or slightly damp cloth. Avoid harsh cleaners that strip the finish. Never soak the wood. Simple cleaning preserves the appearance for years.
Reapply Finish Over Time
Every 6-12 months, add a fresh coat of polyacrylic if the surface looks dull or scratched. This keeps the wood protected and looking new. Regular maintenance prevents deterioration.
Check Hardware Regularly
Vibration from shooting can loosen rim nuts. Tighten bolts every few weeks for long-term stability. Regular checks prevent accidents and maintain performance.
Frequently Asked Questions About Making a Mini Basketball Hoop Out of Wood
What type of wood is best for a mini basketball hoop?
White oak plywood provides the best balance of durability and appearance for most projects. Laminated 1x4s create a rustic look, while a single pine board works for budget builds. The key is choosing wood that accepts stain well and can be sealed properly.
Can I make the rim from wood instead of buying a metal one?
No. DIY wooden rims fail almost immediately. They wobble violently or snap under pressure. Always use a pre-made metal rim from a mini basketball hoop kit. This is the single most important decision for building a functional hoop.
How do I prevent paint from bleeding under the tape?
Use Frog Tape specifically designed for sharp paint lines. Apply thin coats of paint rather than one thick layer. Remove the tape while the paint is slightly tacky to avoid peeling. This technique creates crisp, professional edges.
Do I need to seal both sides of the backboard?
Yes. Sealing all surfaces prevents warping from moisture exposure. Apply polyacrylic to both the front and back of the board. This comprehensive sealing ensures the wood stays stable over time.
How much weight do I need for a stable freestanding base?
Use enough ballast to keep the center of gravity low. Fill a hollow base with sand, water, or concrete blocks. A wider base provides more stability. The goal is preventing any tipping during active play.
Key Takeaways for Building a Wooden Mini Basketball Hoop
Building a mini basketball hoop out of wood combines functionality with custom design. Choose the right wood for your style—white oak for elegance, laminated 1x4s for rustic charm, or pine for simplicity. Always use a pre-made metal rim with bolt-through mounting rather than attempting DIY rim construction. Seal all surfaces with polyacrylic or shellac to prevent warping and maintain appearance. For freestanding models, add sufficient ballast to the base to prevent tipping. Regular maintenance including hardware checks and periodic resealing keeps your hoop functional for years. Whether it’s a classroom fixture, office stress-reliever, or child’s toy, your handmade wooden hoop proves that the best DIY projects are both useful and beautiful.