You just installed a new basketball hoop or noticed the rim seems off—maybe shots feel different, or kids are struggling to shoot properly. The first thing to check? Rim height. The standard height for a basketball hoop is 10 feet (3.05 meters) from the playing surface to the top edge of the rim, a rule unchanged since James Naismith nailed the first peach basket to a 10-foot railing in 1891. Whether you’re setting up a driveway hoop or verifying a court for competition, measuring correctly ensures fair play, proper skill development, and safety.
Incorrect measurements are more common than you think. A rim that’s even an inch too high or tilted can alter shooting mechanics, especially for young players. And if you’re hosting a game or tournament, an out-of-spec hoop could invalidate results. The good news: measuring a basketball hoop properly does not require advanced tools. This guide walks you through exactly how to measure your hoop with precision, avoid common mistakes, and ensure it meets official standards.
Required Tools for Accurate Measurement
Before climbing a ladder or unrolling a tape measure, gather the right tools. What you use directly affects accuracy and safety.
Basic Tools for Home Use
For most residential courts, these essentials are sufficient:
– Tape measure (10+ feet): A standard retractable tape with a metal hook works. Ensure it is long enough to reach the ground from the rim.
– Stable step ladder: Tall enough so you can comfortably reach the front of the rim without overreaching.
– Assistant: One person to hold the ladder and another to read the measurement at floor level.
Pro-Grade Upgrades for Precision
If you are verifying for league play, resale, or camera documentation:
– Magnet + washer: Attach to the tape hook to grip the steel rim securely and prevent slippage.
– Free-hanging technique: Let the tape drop vertically using gravity, not pulling or angling.
– Video recording: Film the process from multiple angles to prove compliance.
– Plumb check: Use visual alignment from baseline and corner to confirm verticality.
Without these enhancements, slight tilts or measurement errors can go unnoticed, leading to an uneven or non-regulation rim.
Step-by-Step: How to Measure a Basketball Rim

Start with Proper Setup
Place the ladder on a flat, stable surface directly in front of the basket. Clear the area of obstacles. If using a portable hoop, ensure the base is fully filled (with water, sand, or BaseGel) and the pole is vertical. An unstable base can tilt the entire system, skewing your measurement.
Have your assistant stand at ground level with the tape measure ready. Climb the ladder carefully, maintaining three-point contact.
Hook the Front Tip of the Rim
Open the tape measure and hook the end onto the front tip of the rim, the leading edge closest to the court. This is critical: you must measure from the top edge, not the bottom or the net attachment points. Measuring from the wrong spot can result in a reading 1–2 inches too low.
Ensure the tape is aligned with the top side of the rim. Do not angle it toward the backboard or pole.
Drop the Tape Straight Down
Let the tape fall freely to the ground. Do not pull it taut sideways, this creates a diagonal and inflates the measurement. Allow gravity to guide it straight down. If possible, use a small magnet on the hook to keep it centered and stable.
Wait for the tape to stop swinging. A moving tape gives false readings.
Read at Ground Level
Your assistant should read the measurement where the tape meets the playing surface, pavement for outdoors, hardwood for indoors. The correct reading is exactly 10 feet (120 inches).
If the number is higher or lower, the rim is out of regulation. But do not stop here, many rims tilt over time.
Check the Back of the Rim

Repeat the process at the back lip of the rim, the side closest to the backboard. Use the same method: hook the top edge, let the tape hang freely, and read the measurement.
- Front = 10 ft, Back = 10 ft? → Rim is level.
- Front = 10 ft, Back = 9’10”? → Rim is tilted forward.
- Front = 9’11”, Back = 10’1″? → Rim is tilted and possibly damaged.
If readings differ, the rim or backboard mount needs adjustment. A tilted rim affects shot trajectory and rebound consistency.
Avoid These Common Measurement Mistakes
Even small errors can invalidate your results. Here is what to watch for.
Measuring from the Bottom of the Rim
The official height is to the top edge of the rim. Measuring to the bottom undercounts by about 1.5 inches (rim thickness), making a 10-foot hoop appear 9’10.5″, a significant deviation.
- Correct: Top edge of rim
- Incorrect: Bottom edge or inside diameter
Using the Outer Edge Without Perpendicular Alignment
Hooking the extreme outer edge of the rim can give a slightly longer measurement if the tape is not perfectly vertical. Always center the hook on the front tip and let gravity align it.
Ignoring Verticality (Plumb Check)
A tape that leans forward or backward measures a diagonal, not a true height. To verify it is plumb:
– Stand at the baseline and look sideways: the tape should be straight, not angled.
– Move to the corner three-point line: the tape should not appear skewed.
– Film the process from both angles to confirm.
Without this check, you might “measure” 10 feet, but actually have a 9’11” rim viewed at an angle.
Measuring on a Sloped Surface
Many driveways slope for drainage. The 10-foot rule still applies vertically from the point directly under the rim. However, if the entire court is slanted, ball behavior changes even with a correct height.
For true regulation play, install hoops on level ground or use adjustable systems that compensate for pitch.
When and Why to Use a Camera-Ready Method
For official verification, such as league certification, product testing, or social media content, a camera-ready measurement adds credibility and eliminates doubt.
How to Record a Verified Measurement
- Start recording from the top of the three-point line, zoomed out.
- Pan slowly toward the basket, focusing on the rim.
- Hook the tape (with magnet) to the front center of the rim.
- Let it hang freely until still.
- Zoom in on the ground reading: “10 feet.”
- Switch to side view (baseline): confirm tape is vertical.
- Switch to corner view: confirm no perspective distortion.
This video serves as irrefutable proof the hoop meets regulation height. It is commonly used by manufacturers, influencers, and tournament organizers.
Youth Basketball: Adjusting Height by Age
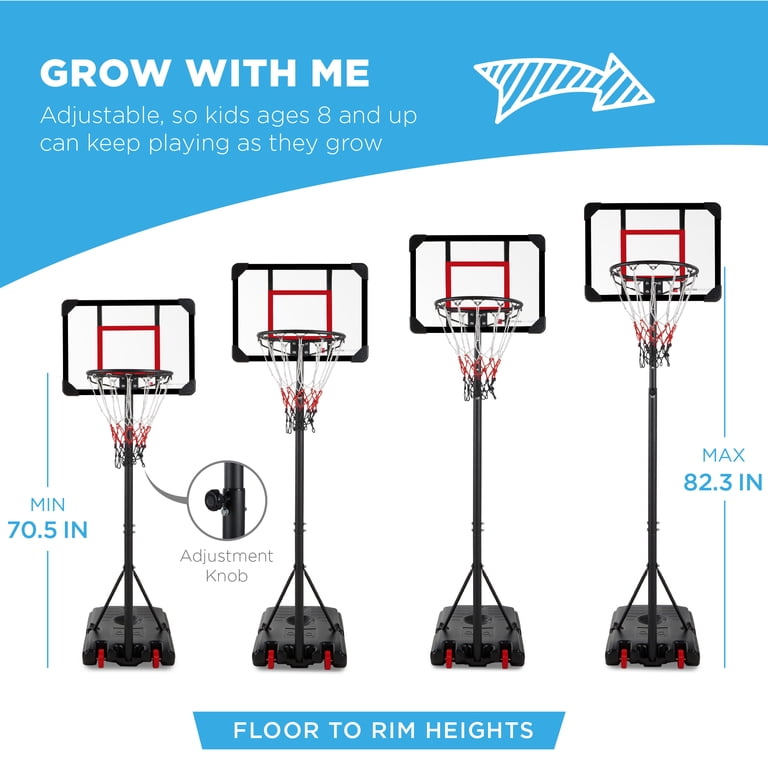
A 10-foot rim is standard for ages 14 and up, but it is too high for younger players. Using the wrong height harms skill development.
Recommended Rim Heights by Age
| Age Group | Rim Height | Purpose |
|---|---|---|
| 5–7 years | 6–7 feet | Encourages proper shooting form |
| 8–10 years | 8 feet | Builds confidence and arc |
| 11–13 years | 9 feet | Prepares for regulation height |
| 14+ years | 10 feet | Official competition standard |
Using a 10-foot hoop for a 7-year-old forces them to push the ball upward from their chest, creating poor muscle memory. By age 13, players should transition to 9 feet so their shooting mechanics align with future 10-foot play.
Adjustable hoops with crank or pneumatic systems make switching heights easy, no tools required.
How to Fix an Incorrect or Tilted Rim
Found a problem? Here is how to correct it.
Rim Too High or Too Low
- Portable hoops: Use the crank or handle to raise or lower the backboard. Retest with the tape.
- In-ground systems: Loosen the pole clamp bolts, adjust height, then re-tighten securely.
- Older models: May require ladder access to manually reposition the backboard bracket.
Always re-measure after adjustment, front and back.
Rim Is Tilted (Front/Back Mismatch)
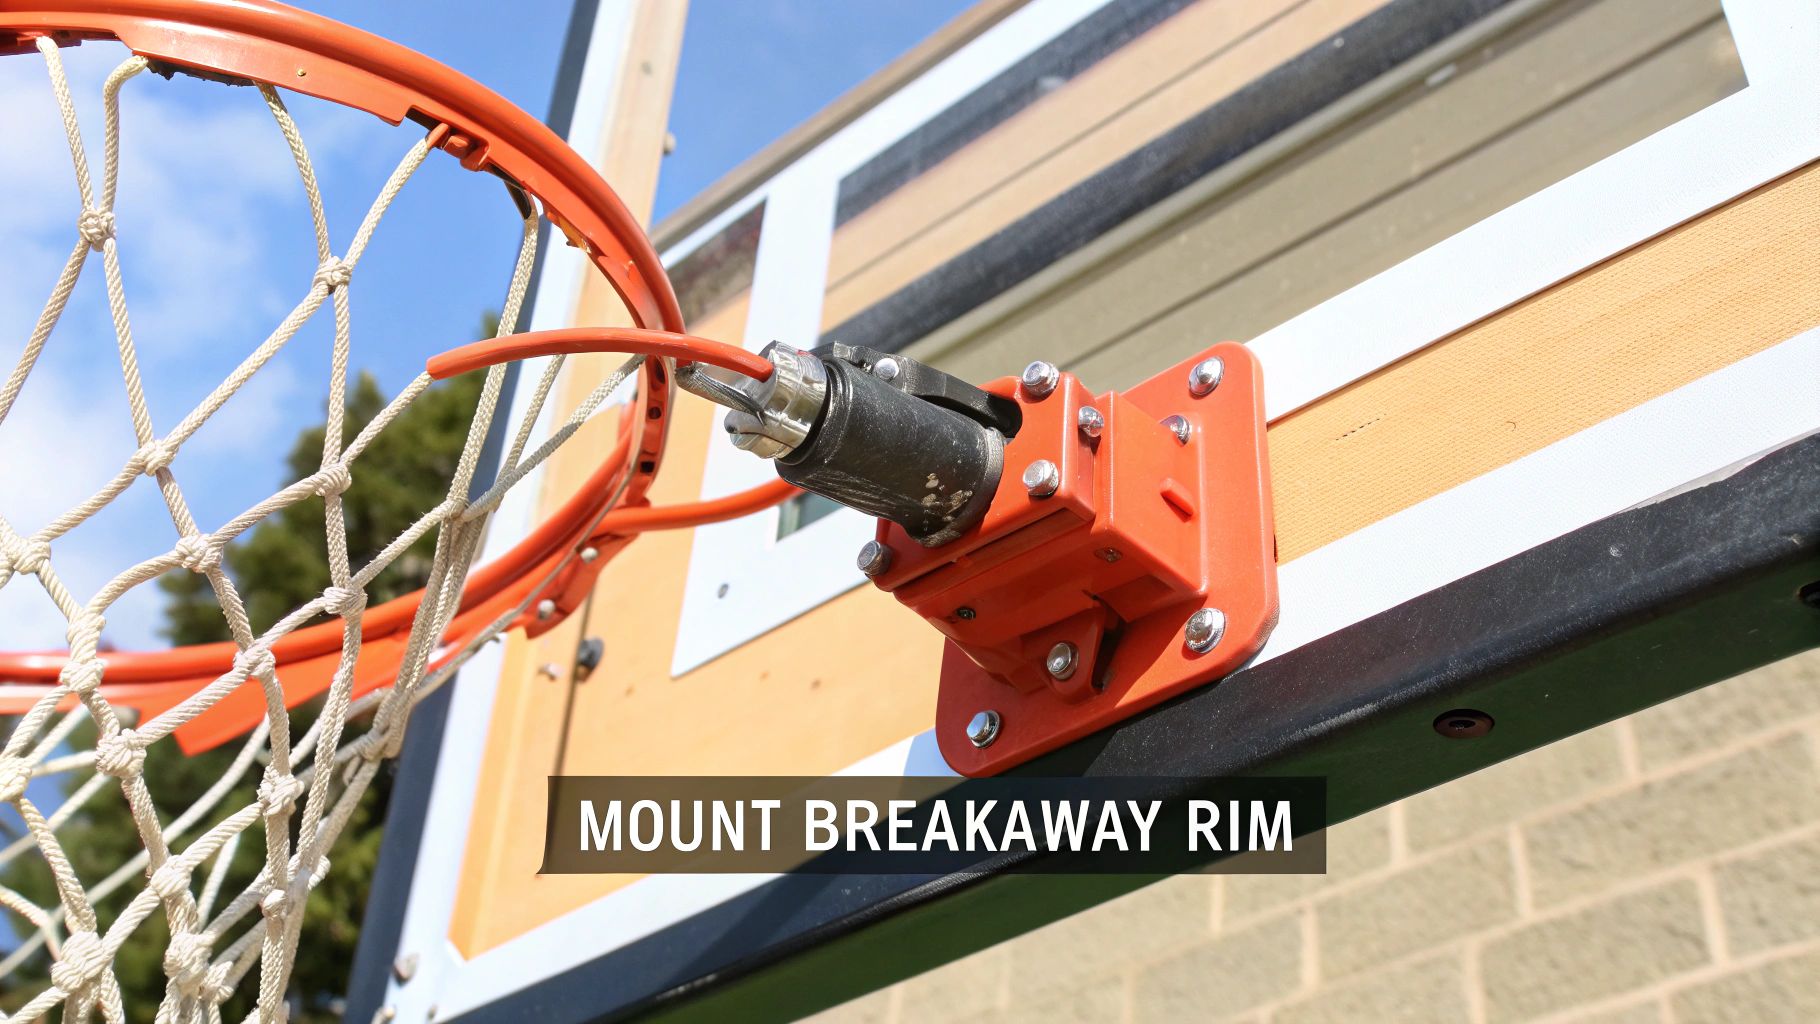
A tilted rim usually means loose mounting hardware.
- Climb the ladder with a wrench.
- Locate the bolts connecting the rim to the backboard or the backboard to the pole.
- Tighten evenly, do not over-tighten one side, which can worsen the tilt.
- Re-measure both front and back.
If the tilt persists, the rim may be bent or the backboard warped. Replacement may be needed.
Official Standards: What Counts as Regulation
All major leagues agree on key specs:
- Rim height: 10 feet (3.05 m) from top edge to playing surface
- Rim diameter: 18 inches (45.7 cm)
- Backboard size: 72 inches wide × 42 inches tall (6 feet × 3.5 feet)
- Free throw line: 15 feet from backboard face
- Three-point line: Varies by league (NBA: 23’9″, FIBA: 22’1.5″)
Even if your hoop is not full-size, rim height must be correct for skill transfer. A 10-foot rim on a 54-inch backboard is still regulation height, just with less banking area.
Maintenance Tips to Keep Your Hoop Level
A properly measured hoop today can drift out of spec over time.
Regular Checks
- Monthly: Inspect rim for levelness, especially after heavy dunking or storms.
- Seasonally: Tighten all bolts, check for rust or cracks.
- After moving: Re-measure if you relocate a portable hoop.
Prevent Tilt and Sag
- Use sand instead of water in portable bases for greater stability.
- Choose square poles for in-ground systems. They resist vibration better than round.
- Install enclosed breakaway rims to reduce stress on the backboard.
A well-maintained hoop stays level, safe, and regulation-compliant for years.
Final Thoughts on Measuring Your Basketball Hoop
Measuring a basketball hoop correctly is simple, but only if you follow the right steps. Use a tape measure from the top front edge of the rim, let it hang freely, read at ground level, and verify both front and back to ensure the rim is level. Whether you are a parent, coach, or installer, accurate measurement ensures fair play, proper skill development, and long-term enjoyment.
For young players, adjust the height by age. Never force a child to shoot on a 10-foot rim too early. And for official or public installations, consider a video-verified measurement to document compliance.
Now that you know how to measure a basketball hoop the right way, grab your ladder, check your rim, and make sure every shot counts, from driveway games to future championships.
Frequently Asked Questions About Measuring a Basketball Hoop
What is the regulation height for a basketball hoop?
The regulation height for a basketball hoop is 10 feet (3.05 meters) measured from the playing surface to the top edge of the rim. This standard applies to all official league play including NBA, NCAA, FIBA, and high school basketball.
Where exactly should I place the tape measure on the rim?
You must measure from the top front edge of the rim, not the bottom or the inside center. Placing the tape on the bottom edge will give you a reading approximately 1.5 inches too low, making a proper 10-foot rim appear out of specification.
How do I know if my basketball rim is tilted?
Measure both the front and back of the rim. If both measurements read exactly 10 feet, the rim is level. If the front reads 10 feet but the back reads 9’10” (or vice versa), the rim is tilted and needs adjustment at the mounting hardware.
Can I measure a basketball hoop by myself?
While possible, measuring with an assistant is strongly recommended. One person should hold the ladder and read the measurement at ground level while the other positions the tape on the rim. An assistant also helps verify the tape is hanging vertically, not angled.
How often should I check my basketball hoop height?
Check the rim height monthly for portable hoops and seasonally for in-ground systems. Also re-measure after any heavy dunking activity, storms with high winds, or if you move a portable hoop to a new location.
What tools do I need to measure a basketball hoop accurately?
You need a tape measure (10+ feet), a stable step ladder to reach the rim, and ideally an assistant to hold the ladder and read the measurement. For professional verification, a magnet for the tape hook and a camera for documentation are recommended.